Above Cabinet LED Lighting using LED Modules
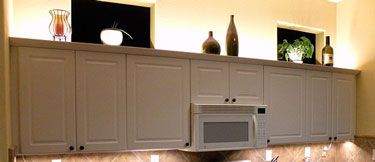
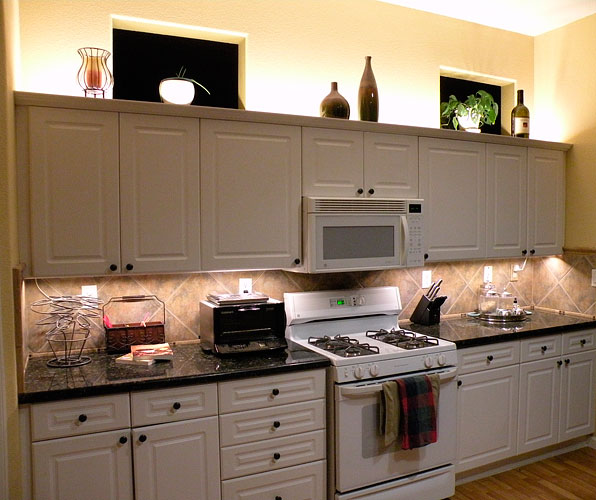
Above Cabinet LED Lighting uses the same process as under cabinet LED lighting and will also last longer, use less power, is easy to use, and looks amazing when compared to any other above cabinet lighting solution. Check out the second half of this DIY project to see how great your home or business can look with both under and above cabinet LED Lighting.
| PROJECT INFORMATION |
| Completion Time | 1-2 hours for average person |
| Skill Level | Beginner - Intermediate |
| Tools Used | Rubbing Alcohol, Wire Connectors, Wire Stripper, 22AWG Wire |
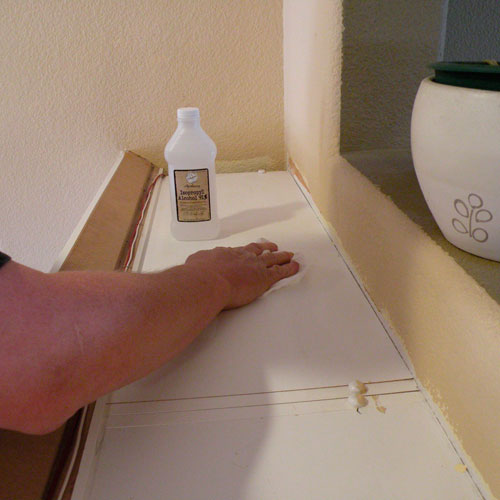
Start by making sure the surface area above the cabinet is clean and free of dirt, grease or any other debris that might cause the mounting tape to not adhere properly. You can clean the area by using Rubbing Alcohol and a rag.
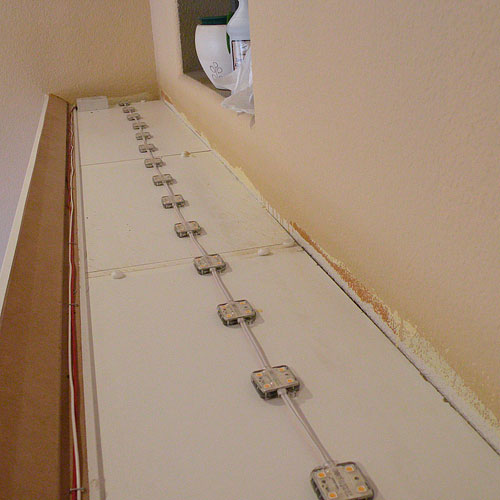
Next you will want to measuring the area that you were you are going to install the LED Modules. In this project we measured the length above the cabinets. The distance was 122", so next we take the distance between each LED module that we are going to use, (which is 5.125" center to center for the Eco Light Super Nova 4 LED Modules) and divide 122" X 5.125" and we get around 24 modules. Then you can take the modules and lay them out on top of the cabinet to see that everything fits fine.
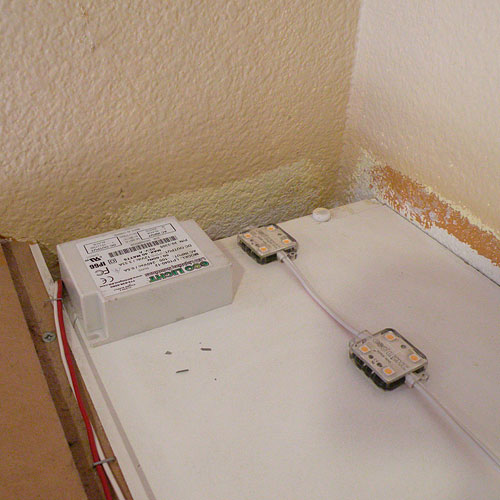
3.) Supply Power to LED Modules
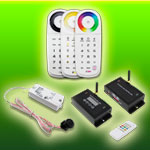
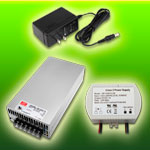
For this project we were able to place the LED Power Supply and the Connection box (for the 120V connection into the Power Supply) on top of the cabinet. We used 3M™ VHB™ to mount the box and LED power supply. We also used butt connectors to connect the LED Module string in a series to the LED Power Supply. To supply 120 Volt to the power supply we use a plug end with a basic plug switch and just plugged it into the wall socket. You can also hard wire the Power Supply and wire it into a wall switch for a more professional installation. It is recommended that If you are not an electrician than you should hire one for this part. This is so your installation might be up to any city building codes for your home.
4.) Test Connection to your LED Modules
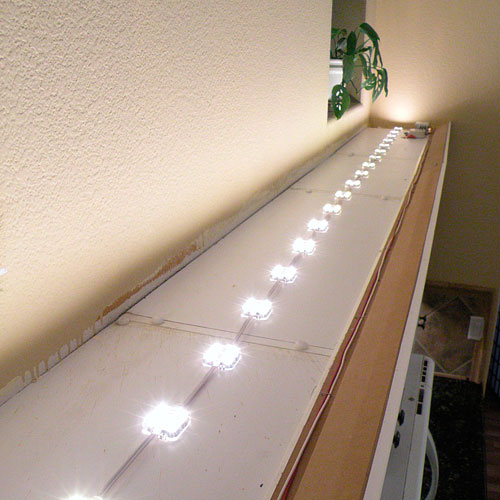
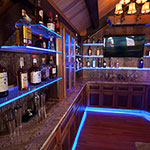
Now turn on the LED lights to first make sure all are light up and connected properly, secondly, to see how the light shines on the ceiling and back wall. If you want to, you can move the string of LED Modules forward or backward to achieve the lighting effect on the back wall and ceiling (See picture D). If they are in the right place you might want to mark a straight line across the top of the cabinet to ensure a straight installation of the modules.
5.) Mount LED Modules and Enjoy
Now you are ready to mount the module string to the cabinet, just peeled the backing off of the mounting tape and securely stick each module to the top of the cabinet and along the straight line. Note: If the surface is smooth, such as finished wood, formica or metal, you can apply the modules using the 3M™ VHB™ mounting tape that is on the back of each module. However, if the surface is rough you will need to mount the modules using #4 screws. Now turn on and enjoy the beautiful and bright lighting that LED modules can provide to you for many years and without maintenance.