How to Solder Wire to RGB Strip Lights
RGB LED Strip Lights are such a versatile product due to the fact that they can easily be cut on the given cut lines and connected at any point between the copper dots on the LED Strip Lights, cut lengths vary between products. See the below tutorial for a complete guide on cutting 4 wire RGB LED Strip Lights and soldering wire directly to the LED Strip.
Before attempting to solder wire to your LED Strip Lights it is important to be sure that you have the proper tools for your soldering project. We recommend using any 30W-60W soldering iron that is temperature adjustable and capable of soldering at around 500°-600°F. It is best to use a more powerful iron so that you don't need to spend a lot of time heating the joint, which can damage components. At the same time too hot of an iron can also damage the components. We also recommend using a thin rosin core solder and having a wet sponge or steal pad for cleaning the tip of your solder iron.
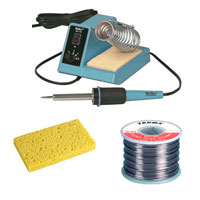
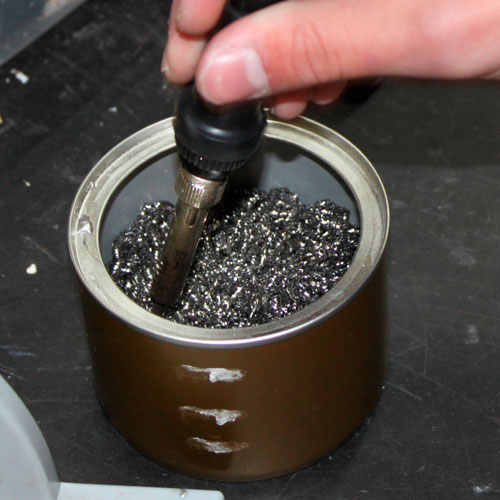
It is important to have a clean tip on your soldering iron in order to keep your soldering joints from overlapping. Clean the tip of your solder iron regularly to keep your joints as clean and small as possible.
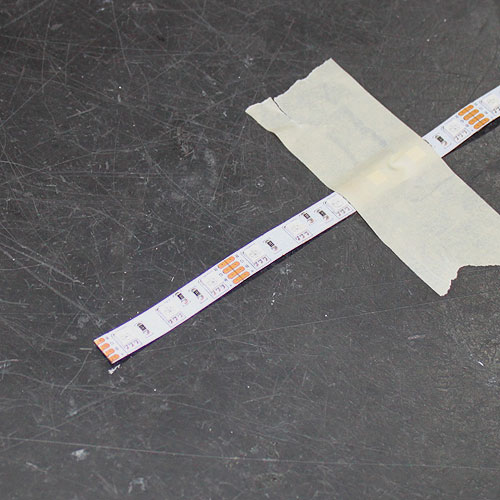
Use a few pieces of masking tape to secure your RGB LED Strip light so it does not move during your solder.
Once your soldering iron is hot enough, tin your 18-22AWG stranded RGB wire by applying a small amount of solder directly to the stranded wire. Once you have completed this step your wire should be silver in color and no longer appear to be stranded.
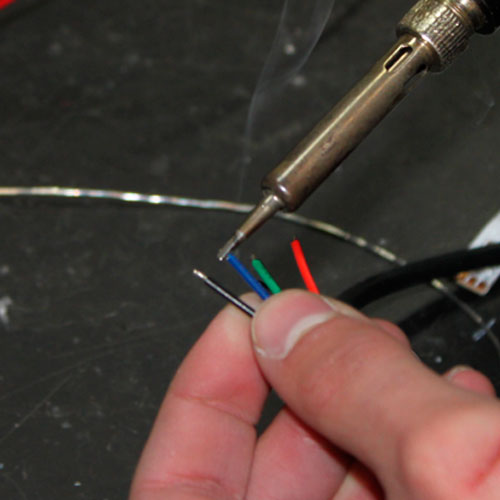
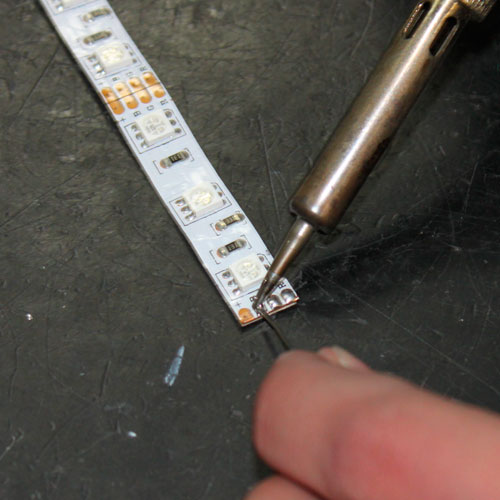
The next step is to tin the copper dots on your LED Strip Light by melting a small amount of solder directly to the copper dots. Be sure not to apply so much that the solder is overlapping, this will cause unwanted color changes on your RGB LED Strip Light.
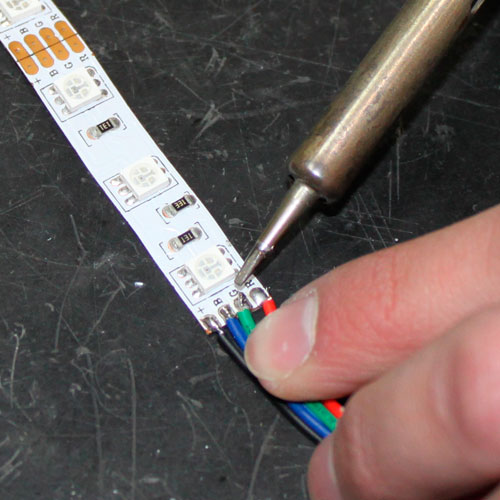
Once you have tinned both the wire and the copper dots on your RGB LED Strip Light you can now mate the two together. Individually place the wire to the copper dots and then place the soldering iron over both in order to heat up each solder enough to melt and become one. Be sure to hold long enough to not create a "cold solder."
*COLD SOLDERS OCCUR WHEN ONLY ONE OF THE SOLDER JOINTS IS HEATED AND CONNECTED WHILE THE OTHER IS STILL COLD. COLD SOLDERS WILL NOT CARRY ELECTRICAL CURRENT.*
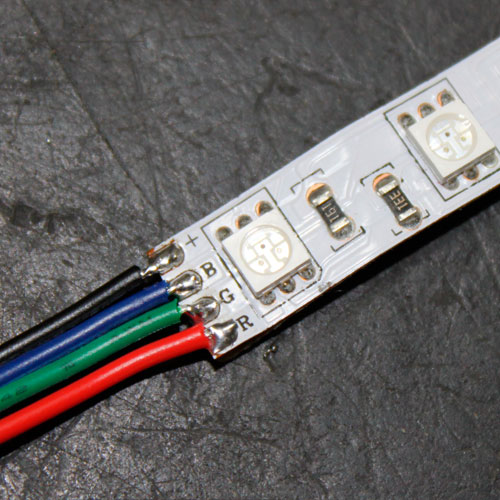
Once you have properly mated your wire to your LED Strip Light your final result should look something like this. Notice that the solder joints are clean and not overlapping one another.
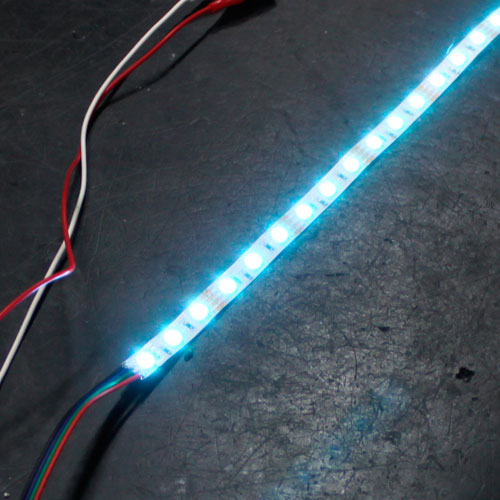
Once dry, connect your freshly soldered LED Strip to a proper power source and test your connection.
*FAILED CONNECTIONS WILL OCCUR FROM A COLD SOLDER JOINT. IF YOU NOTICE ANY SPARKING OR SMOKE YOU MORE THAN LIKELY HAVE A CROSSED OR ARCING CONNECTION.*
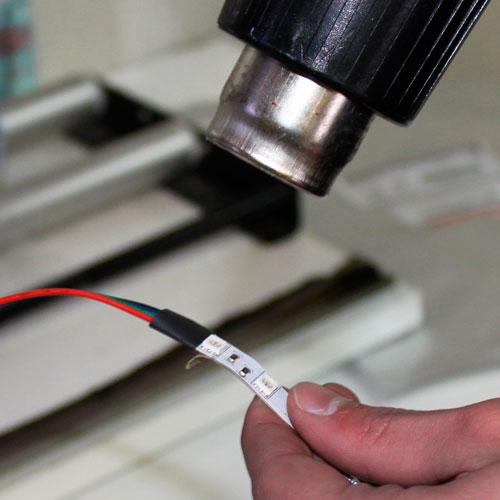
Peel back the 3M adhesive enough to cover up your solder joint with heat shrinking material. If you do not have heat shrink you can use a small amount of hot glue.

Use a heat gun to shrink your heat shrink to protect your solder joints and then test one more time to be certain of a proper connection.
Related Categories
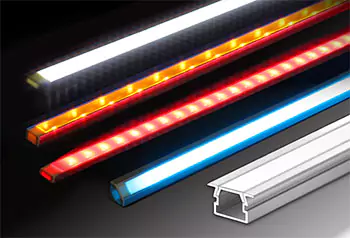 KLUS Strip Light Channels & Diffusers
Browse our wide variety of KLUS brand LED Strip Light Channels and Diffusers to create custom and quality linear LED lighting fixtures for any application. The aluminum channels, also known as LED profiles, are not only a great housing for light strips but also act as a heat sink for them as well, which in turn will expand your LEDs lifetime as well as brightness over time. Extrusions are sold in 1M, 2M and some in 3M lengths and can be cut and customized to fit any project. We have LED Extrusions for 8mm, 10mm, 12mm, doublewide, as well as waterproof outdoor rated channels. 2M lengths are available for all channels, some are available in 3M lengths, but not stocked please call 775-636-6060 to arrange a drop-ship.
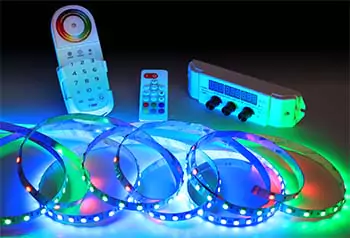 RGB LED Controllers
We have a large selection of RGB LED Light controllers from basic knob style, programmable RGB controllers and several with remote control functions. You can use these RGB LED controllers to create unique lighting effects for your RGB LED lights, LED RGB Ribbon, RGB LED tubes, RGB Wall Washers, and LED RGB Modules. See our newly added RGBW (Red, Green, Blue, White) 4 color led controllers to mix color changing effects along with single color control white or warm white lighting.
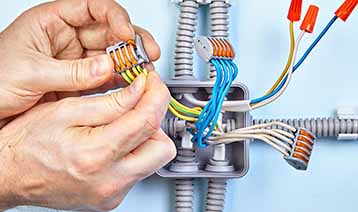 LED Wire Connectors
We have a wide variety wire connectors to assist in making your LED Lighting installation as simple as possible. Whether you need wire splitters, terminal connectors, or wire nuts, all of these connectors make for quick and easy wire connection.
 RGB Indoor LED Strip Lights
UL Listed RGB Non Waterproof LED Strip Lights. Perfect for any interior LED Ribbon Strip lighting projects. Use for led lighting in coves, closets, cabinets, displays, exhibits, walkways, or any other LED Tap light application. UL Recognized, CE and RoHS approved.
 LED Power Supplies
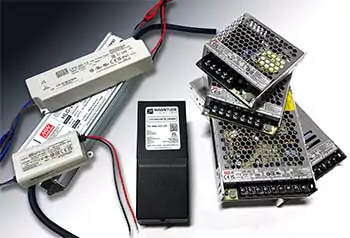
We stock many different types of AC to DC power converters to drive your 12VDC and 24VDC LED lights, neon, modules and fixtures. Our LED Power Supplies, also known as LED Drivers or LED transformers, have universal AC inputs for both residential and industrial lighting projects. Hard wire your transformer to your AC source or use any of our wall plug cords and accessories to plug a power supply into any existing light socket. Use our different types of high quality Mean Well and Magnitude transformers and drivers for your next low voltage interior or exterior LED Lighting project.
 LED Connection Wires
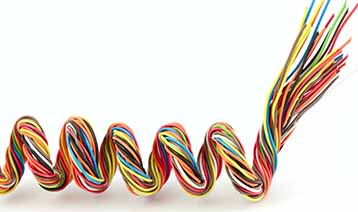
We carry a full line of stranded LED connection wire products in 18AWG to 22AWG. Choose from our 2 conductor, 4 conductor, and 5 conductor wiring cables for your single color, RGB, or RGB+W LED projects. These DC connection wires will make connecting your LED lighting much easier and more efficient. All wires sold by Ecolocity LED are a stranded wire, we recommend never using solid or romex wire with low voltage DC products.