T8 Tube Lamp Retrofit
Follow this DIY guide for reference on retrofitting your existing fluorescent T8, T10, and T12 bulbs for an eco-friendly, energy saving alternative to your existing fixtures. These bulbs come in both 2ft and 4ft lengths, plug directly to your 110-240VAC power source and contain no Mercury or other harmful gases or chemicals.
| Click Here for a Printable PDF Format |
| PROJECT INFORMATION | |
| Completion Time | 30 minutes for average person |
| Skill Level | Advanced (High Voltage Product) |
| Tools Used | Wire Connectors, Wire Stripper, 18AWG Wire |
Need Assistance? Give us a call and we'd be happy to help you with your project. We provide free quote and layout services.
IMPORTANT NOTE: To avoid electrical shock or serious bodily harm always disable 110-277VAC power source, never cut or connect a live electrical wire. If you do not have knowledge of high voltage AC power, hire a professional electrician. Before starting this installation know that you and you alone are ultimately responsible for your safety and safety of others. If you do not feel comfortable with this project hire a professional electrician.
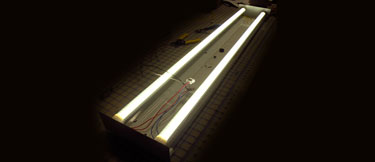
1.) Remove Fixture and Prep
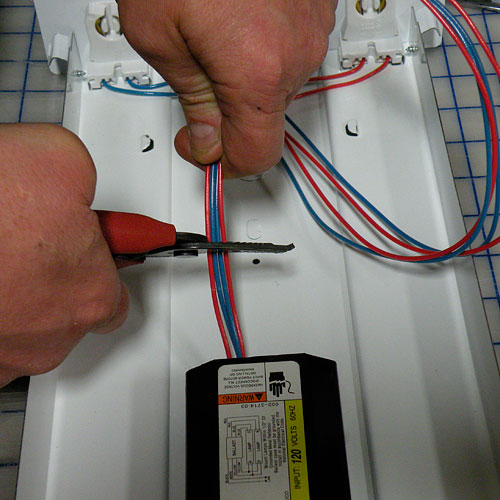
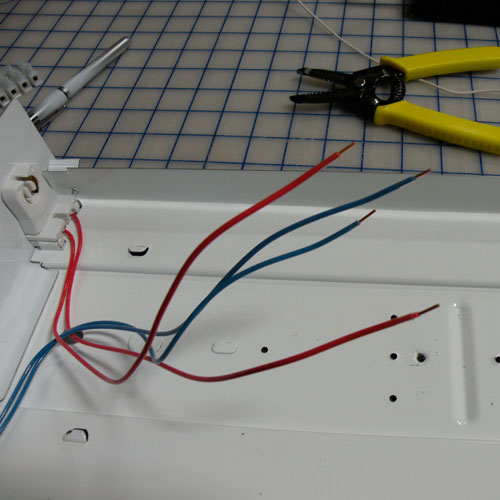
2.) Cut Unneeded Wire
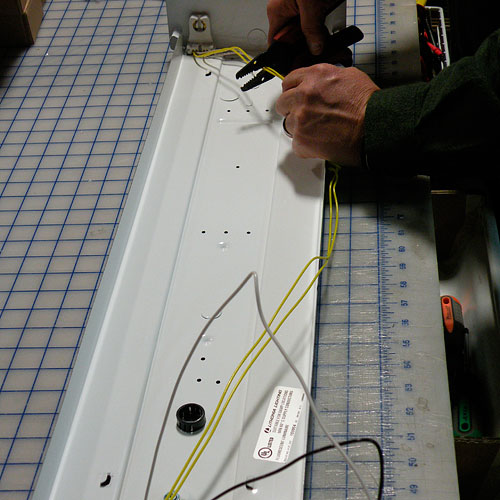
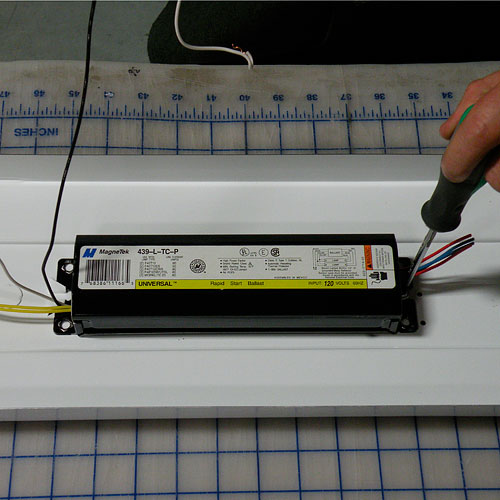
3.) Remove Ballast from Fixture
4.) Strip the Power Input Wires
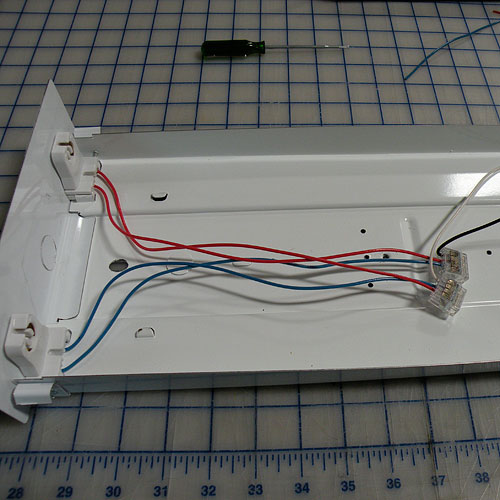
5.) Join Wires and Connect to 110-277VAC Source
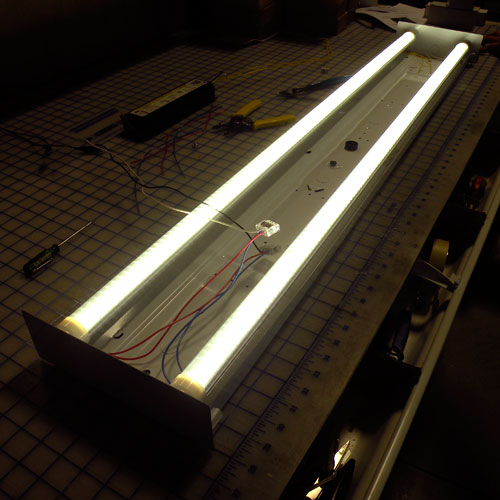
6.) Turn on Power and Test Connection
Related Categories
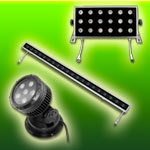
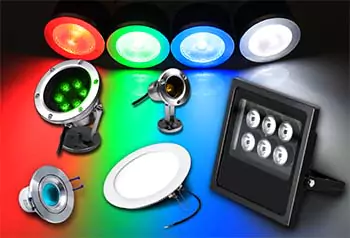 LED Light Fixtures
Browse our large selections of eco-friendly LED lights and fixtures. RGB LED color changing lights, RGBW 4 color LED downlights, flood and wall washers. Whether you need home or business lighting our industrial LED fixtures can easily be installed for accent, spot lighting, and outdoor building and sign illumination. We have products for both indoor and outdoor lighting projects in a wide array of color temperatures and styles.
 LED Wall Washers
We carry a wide variety of 24VDC LED Wall Washers for both indoor and outdoor LED Lighting projects. Select from our 4 Color RGBW, RGB Color Changing LED Wall Washers or use a single color White or Warm White LED Wall Washers. All of our LED Wall Washers are capable of projecting light over 45ft. Each LED Wall Washer requires a 24VDC Transformer and can be controlled by PWM Dimming or DMX Control.
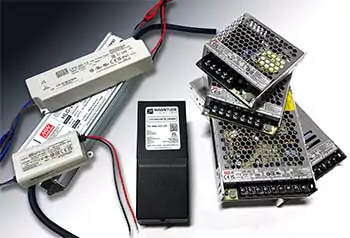 LED Power Supplies
We stock many different types of AC to DC power converters to drive your 12VDC and 24VDC LED lights, neon, modules and fixtures. Our LED Power Supplies, also known as LED Drivers or LED transformers, have universal AC inputs for both residential and industrial lighting projects. Hard wire your transformer to your AC source or use any of our wall plug cords and accessories to plug a power supply into any existing light socket. Use our different types of high quality Mean Well and Magnitude transformers and drivers for your next low voltage interior or exterior LED Lighting project.
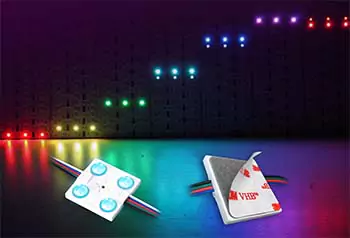 LED Backlight Modules
LED Backlighting Modules are a great LED Lighting source for indoor or outdoor project requiring even illumination from behind. LED Modules are designed to be used in channel letters and signs but can also be used in home remodel projects, accent lights, and even outdoor patio and landscape lighting. LED Light Modules are a great versatile product because there is lead wire between each LED Module, making them easy to cut and re-connect for any custom project. We have UL Super Nova Modules and more affordable non-UL LED Modules, all are water-resistant, non-UV proof.
 LED Tutorials and Information
Expand your knowledge of Ecolocity LED Lighting products by reading through our Tutorials and Information pages. Explore the many uses for LED Products, learn new techniques such as soldering, or just learn a bit more about the benefits of LED lighting. Either way you can answer all of your LED questions here.
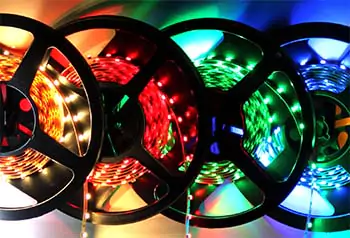 Ribbon Star UL Listed LED Strip Lights
Our commercial grade LED Strip Lights are manufactured with only the highest quality parts. Every strip light begins with a heavy duty dual core copper printed circuit board (PC Board) and then is soldered with an array of chip and color options. The backside of the PC board is applied with real deal double sided 3M tape for mounting that won't peel off. Each roll of strip can be cut and re-connected to low voltage power to create reliable UL Listed linear accent, task, and exterior lighting. We stock a wide range of brightness (lumens), IP Rating (waterproof), colors (kelvin) and color changing options below. Our strip lights are the best strip lights on the market.