Automobile Interior Fixture LED Retrofit
Tired of replacing interior halogen bulbs in your vehicle or waking up to a dead battery when you forgot to turn off your dome lights? We have a perfect solution, follow this DIY project to replace your halogen bulbs with brighter, and more efficient 1W G4 LED Wafer Bulbs.
| PROJECT INFORMATION | |
| Completion Time | 1 hour for average person |
| Skill Level | Intermediate - Advanced |
| Tools Used | Screw driver, Wire Stripper, Solder Iron |
Need Assistance? Give us a call and we'd be happy to help you with your project. We provide free quote and layout services.
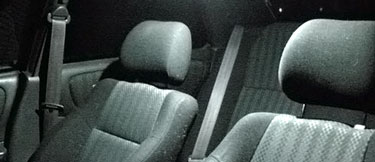
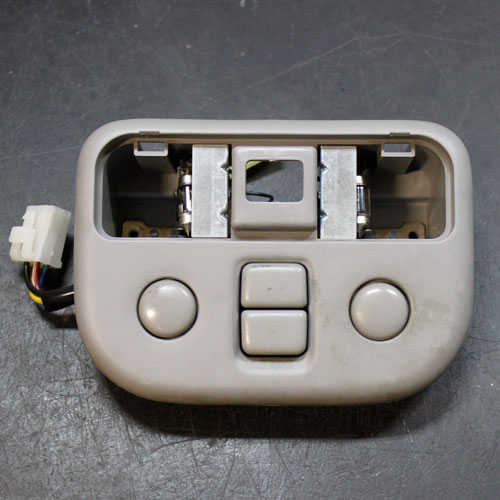
1.) Remove Fixtures and Existing Bulbs from Interior
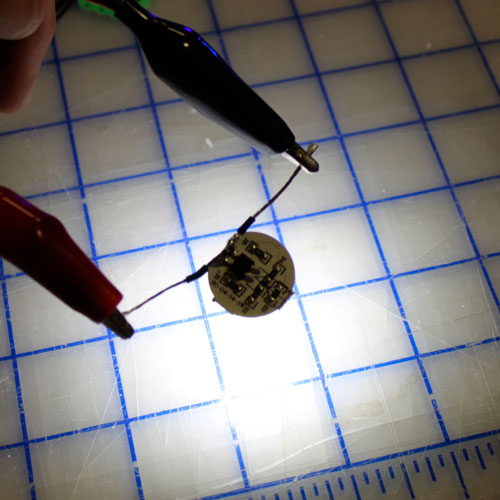
2.) Solder Connection Wire to G4 Bulb and Test
3.) Install and Secure G4 Bulb in fixture
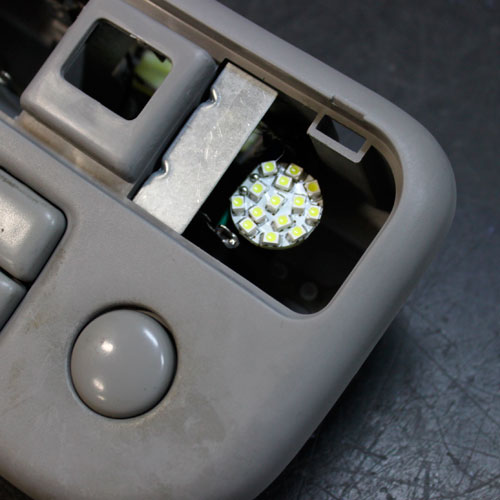
4.) Finished View of G4 Bulb Installation
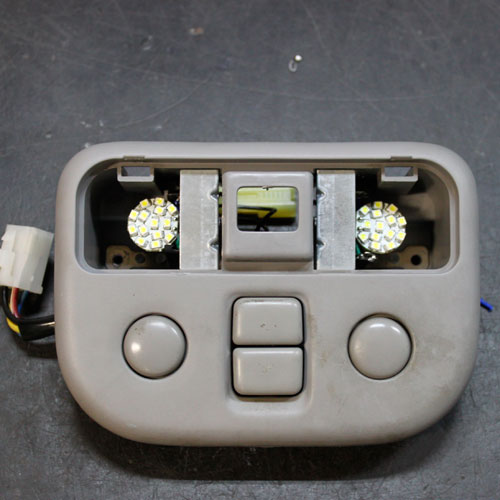
5.) Repeat Steps 3 & 4 for all Interior Fixtures
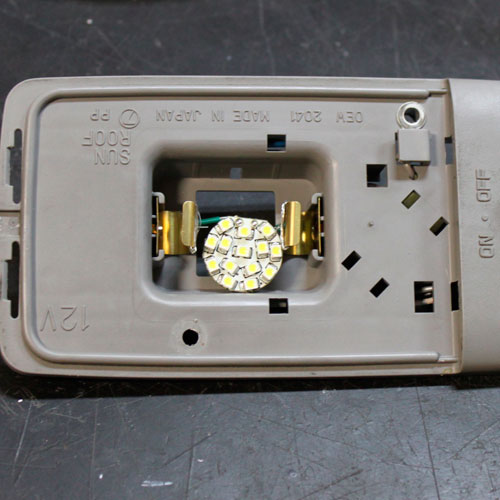
6.) Re-Install your Fixtures, Test and Enjoy

Related Categories
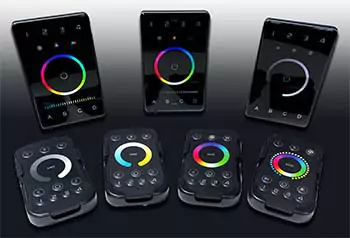
 PWM LED Dimmers & Switches
PWM (Pulse Width Modulation) LED Light Dimmers, give your LED Lighting products the ability to dim using a variety of control options. We have several types of LED Dimmers including basic knob style LED Dimmers, slider style LED Dimmers, wall mount dimmers for your LED lights, RF Remote style LED dimming control, zone dimmers, and WiFi dimmers. We also have a variety of on/off sensor switches for custom LED projects. Give us a call if you have any questions about what LED dimmer is best for your LED application.
These Amazing RGB LED Modules allow the light designer, set designer, sign maker and exhibit builder to easily bring their projects alive with color and movement. Using PWM dimming you can create millions of colors and color changing effects. Our standard color changing RGB modules are perfect for most projects, if you need color chasing module effects check out our digital style module options where you can control each LED module, making the possibilities truly endless. Module input voltages vary from 5VDC-12VDC, always be sure to operate the products on the correct input voltage.
 LED Lighting Controls
Browse our large selection of low voltage LED lighting controls and remotes including All in One Controllers, LED dimmers for single color LED lights, RGB Controllers, RGBW Controllers and RGB+CCT Controls for color changing LEDs as well as DMX LED controllers to create unique lighting effects for your LED lights using computerized software.
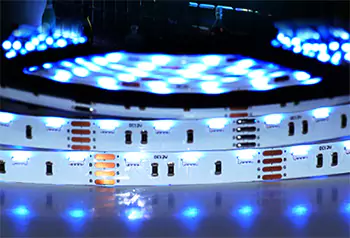 RGB LED Strip Lights
We have both uncoated and waterproof Flexible RGB LED Strip lights (RGB Tape lights) to choose from. Our color changing LED strips are very easy to use and are a very versatile way to add all the brilliant and amazing colors you get from RGB LED Strip Lighting. The combination of Red, Green and Blue output allows you to create millions of different color variations. Each roll of color changing strip is UL Listed for class 2 circuits, CE and RoHS approved.
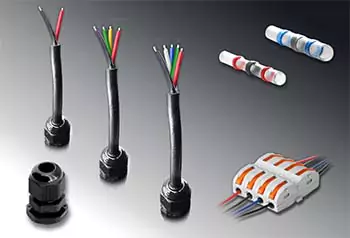 LED Wiring Accessories
LED Lighting Accessories are essential in any low voltage LED lighting install. Without using the proper wire or having secure wire connections their is risk of electrical shock or fire damage, which nobody wants. We stock a complete line of DC connection wire, wire connectors rated for up to 300V as well as IP68 waterproof junction boxes that are rated to be submersed for underwater wiring purposes. Don't shortcut the essential of your LED project and use our wiring accessories for a secure and safe wire electrical circuit.