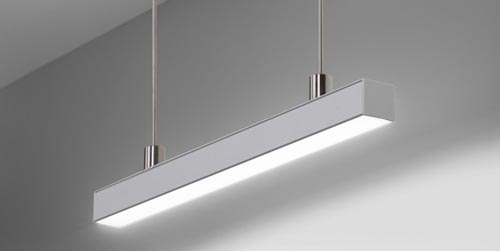
Create a Hanging Strip Light Fixture using Conductive Extrusion Fasteners
We have all the parts required to make personal and customized hanging linear LED light fixtures using our high density LED strip lights and KLUS extrusion fasteners with conductive parts. Each rod conducts electricity so there are no visible wires and leaves a really clean result. Check out this tutorial to see how easy it is to build your own custom strip light fixtures to hang from ceilings and walls.
| PROJECT INFORMATION | |
| Completion Time | 30 mins - 1 hour for average person |
| Skill Level | Intermediate |
| Tools Used | Solder Iron, Wire Stripper/Crimper, 22AWG Wire, Pliers |
| Required Products | Extrusion, Fasteners, Rods, Wire, High Density Strip, Power Supply |
Need Assistance? Give us a call and we'd be happy to help you with your project. We provide free quote and layout services.
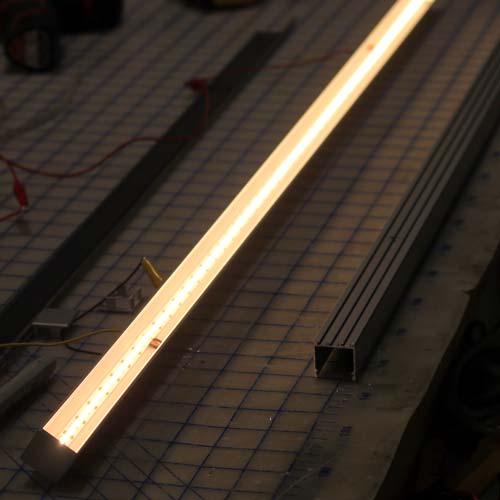
First of all we recommend using a High Density Strip Light such as our Ultra 2 Strips. These strips have so many LEDs that you avoid seeing dots and hot spots. Once you have chosen a strip determine a solder point on the strip where you would like your hanging posts to sit. The closer you drill the hole to the conductive pad on the strip the easier to install.
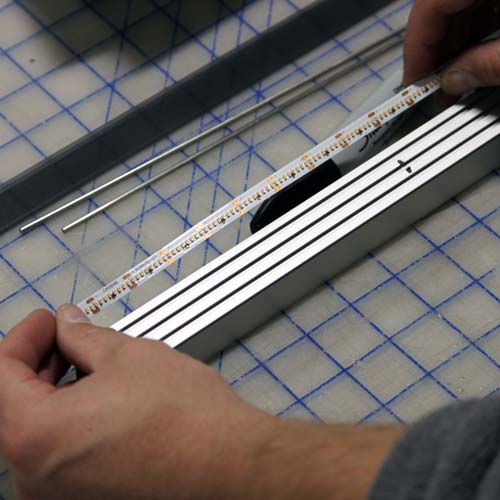
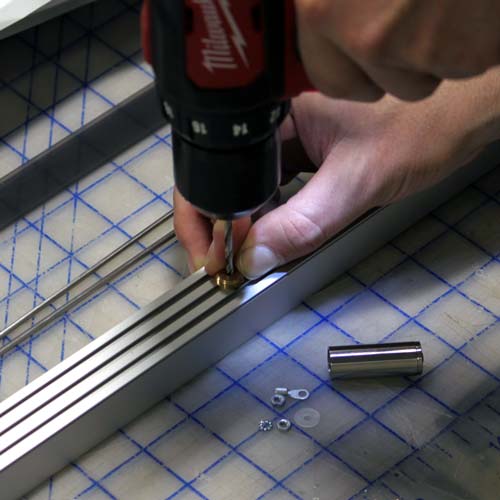
Measure and mark the point you have chosen on each side of the extrusion. This will be where we will drill the wire hole.
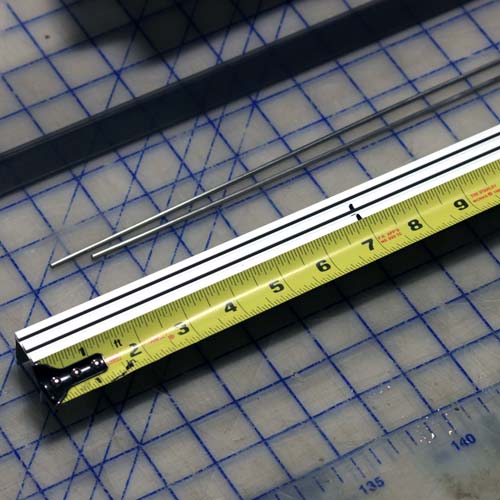
Unscrew the flanged brass bottom of the extrusion fastener and slide into the center groove on the back side of your anodized extrusion. Slide to your mark and drill a hole through your channel for your wire to attach inside the fastener.
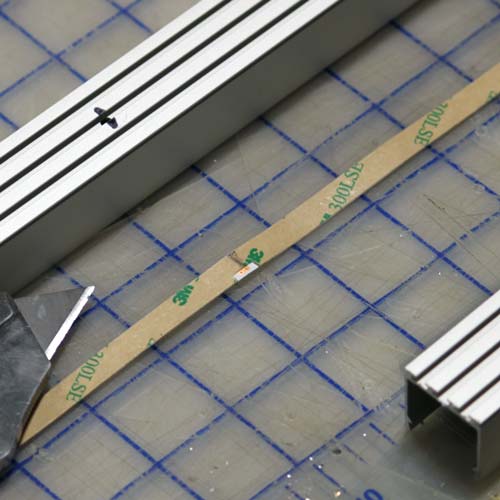
Using a sharp blade expose the copper pad on the bottom of your strip at the same point that you previously marked for your wires. Only expose one side of the pad one each end (+ on one side and - on the other).
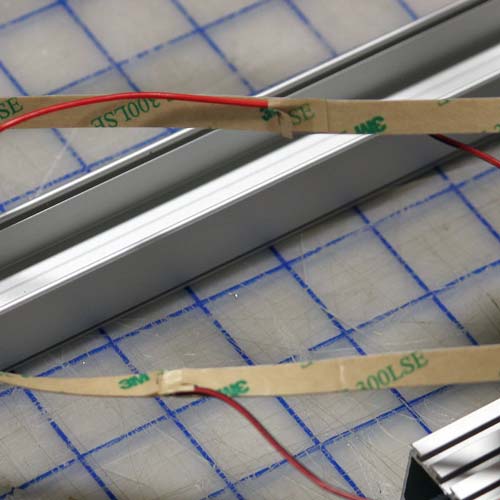
Solder wire to the exposed pad on the bottom of your strip light. Be sure you solder to positive pad on one side and negative pad on the other. It is also a good idea to cover any solder or wire that may touch the extrusion when mounted.
Solder wire to the exposed pad on the bottom of your strip light. Be sure you solder to positive pad on one side and negative pad on the other. It is also a good idea to cover any solder or wire that may touch the extrusion when mounted.
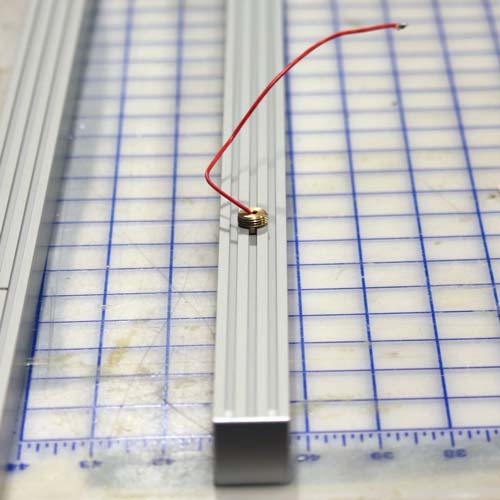
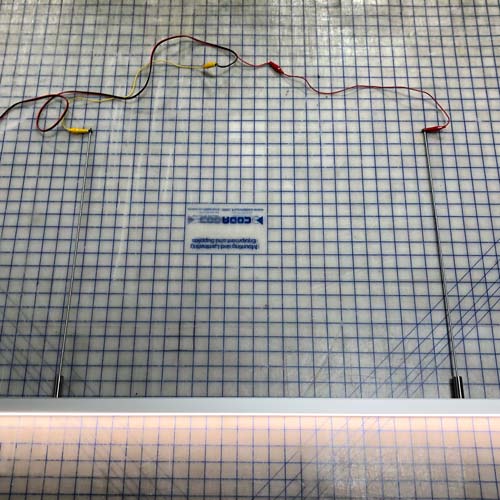
Once you have mounted your strip and you have your wires poking through the brass inserts it is a good idea to test your conductivity before going on further. Be sure to test your strip using the correct DC voltage.
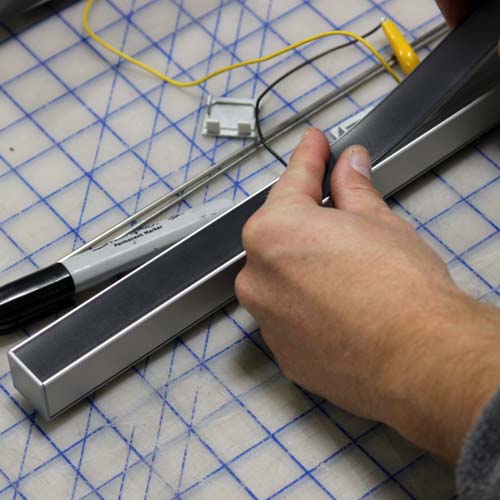
Start by Installing one end cap first, then firmly butt the cover to the cap and press into place. Once the cover is in place you can install the other cap. I personally like to put a dab of glue on the cap before install to make sure it stays in place over time.
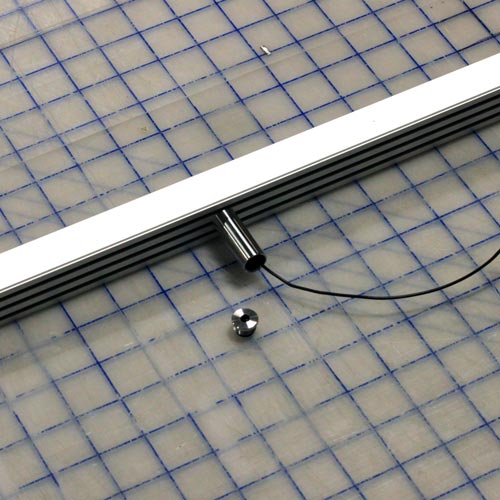
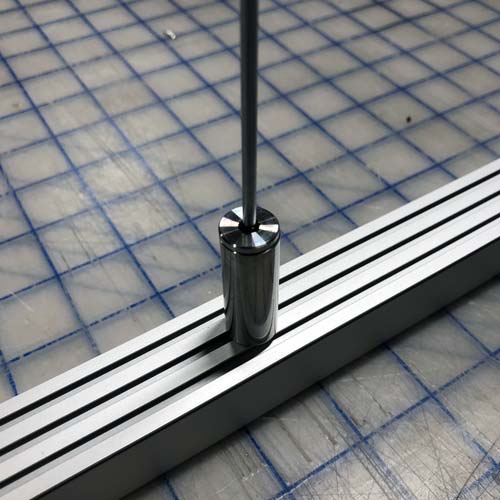
Now that the strip light is tested and securely in the channel we can now make the connection to the mounting rods. Start by firmly screwing on the cylindrical metal covers on each fastener.
Cut back your wire with enough room to crimp on your cable lugs. I personally like to apply a drop of solder to the wire and lug after crimping to ensure it will never come undone. You will have to bend the eye loop at a 90° angle to fit properly onto the rod.
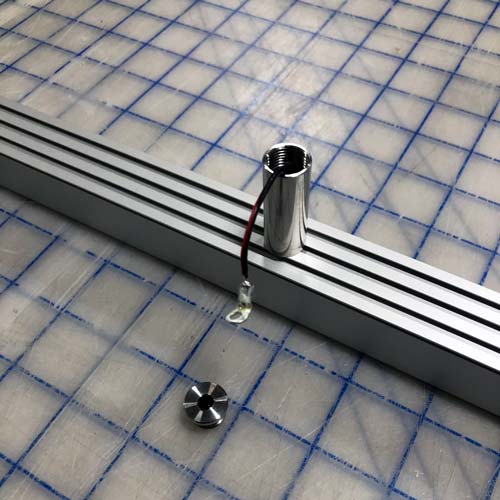
Using the Mounting Rod screw threads bolt the cable lug onto the mounting rod with the locking washer toward the top of the assembly.
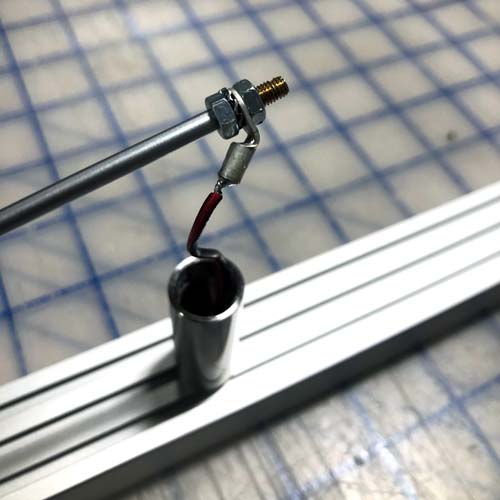
Now that your wiring is all wired up we need to place the rod assembly in the fastener and then secure the top cap to make the fastener complete.
Test your polarity on more time and make sure everything is good to go. You may want to mark the polarity with a piece of tape that can be removed later. Now you are ready to install the hanging fixture in to your ceiling brackets.