Assembling Aluminum Extrusions using LED Strip Lights
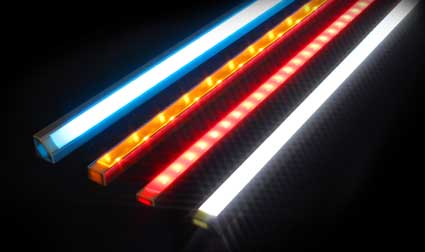
LED Strip Light Channels provide a modern and clean linear lighting solution for any type of application. Easily create custom low voltage lighting fixtures using our aluminum extrusions and covers with our LED strip lights. The modern, long lasting, bright, and eco friendly linear lighting fixtures are perfect for any home, business, indoor and outdoor lighting applications. Choose from our variety of single color and color changing strip light options to mount inside a large array of aluminum channels with both clear and frosted covers choices.
Watch Extrusion Assembly Video Tutorial| PROJECT INFORMATION | |
| Completion Time | 30 mins - 1 hour for average person |
| Skill Level | Intermediate |
| Tools Used | Solder Iron, Wire Stripper, 22AWG Wire, Hacksaw |
Need Assistance? Give us a call and we'd be happy to help you with your project. We provide free quote and layout services.
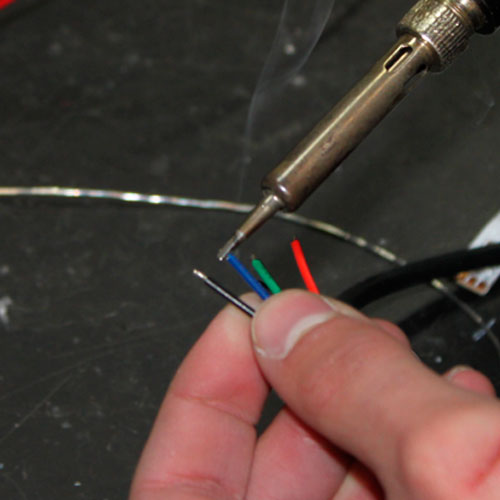
- Strip your wire leads no more than 1/8" and tin them with flux core electrical solder.
- Before soldering to strip remember to put your wire through the end cap with hole.
- Always use 18-22AWG stranded wire. larger loads require a thicker guage.
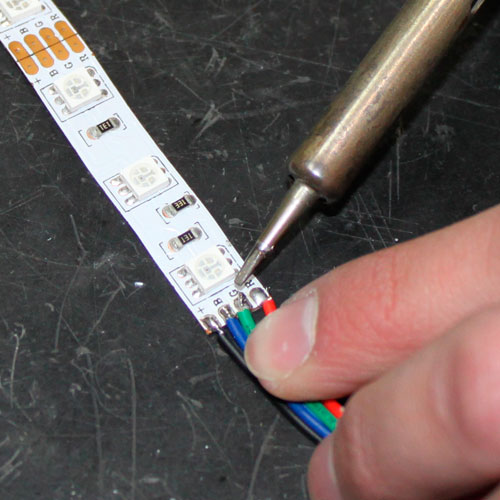
- Tin the copper pads on the LED strip light with flux core solder.
- Solder the wire to the copper pads.
- Be sure no solder points or fray wires are touching.
- Always test your connection before installation.
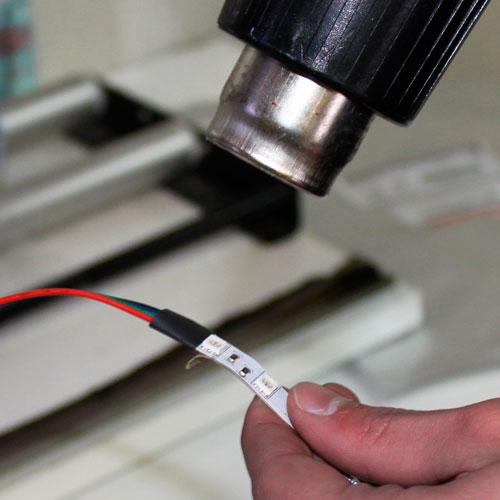
- Use heat shrink to cover any exposed copper pads on the bottom of the strip light at your soldered connection.
- Exposed copper with no 3M mounting tape or heat shrink will cause an electrical short on the aluminum channel.
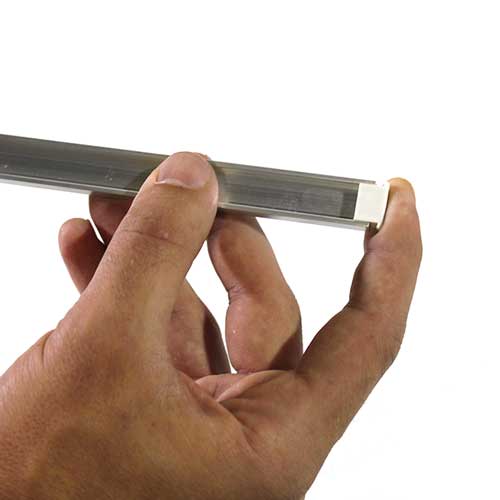
- End caps are an optional accessory and give your channel a finished look while blocking light leakage.
- If you are using end caps install the closed end to get an idea of how much space it will take inside the channel.
- Most end caps require a small amount of space for installation.
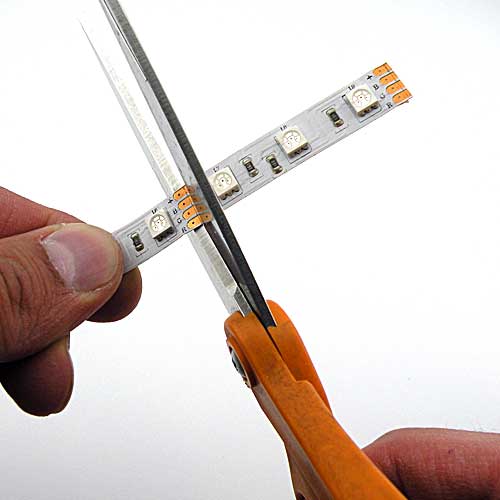
- If necessary, layout your strip light next to your channel and determine where to cut your strip.
- Always cut your strip light on the cut line between the copper pads. Cutting elsewhere will damage that section of the strip.
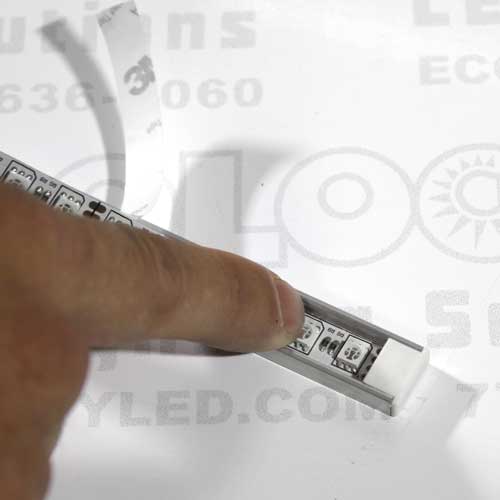
- Peel back the 3M double sided tape and adhere your strip light to the aluminum channel.
- For best lighting results center your strip light between end caps or channel ends.
- Install holed end cap (optional).
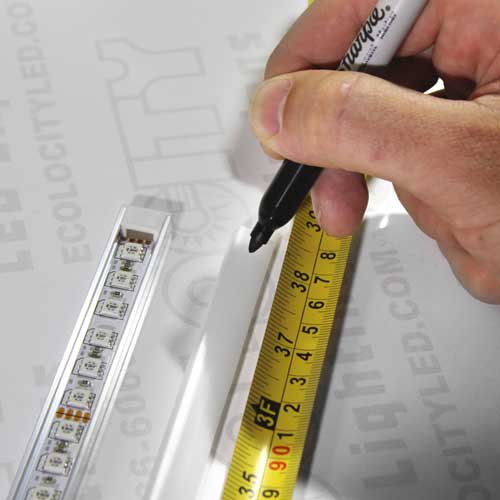
- End caps require a small amount of space, measure this space and cut your cover accordingly.
- To avoid making two cuts you can mount the cover and mark the left over for cut off.
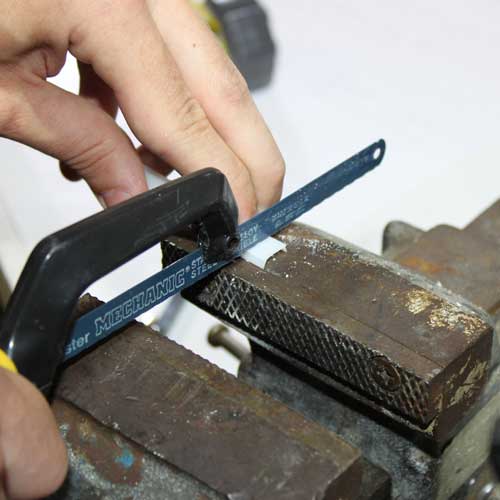
- Use a fine toothed hacksaw or band saw to cut the cover to mount with end caps.
- Be sure to make a straight and square cut to avoid any gaps for light to escape.
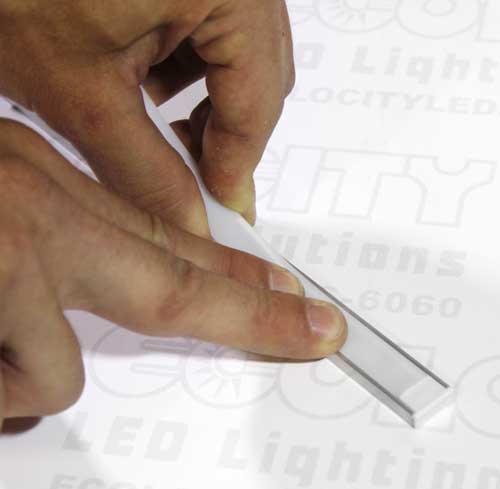
- The plastic covers are specially designed to press into place, never try to slide the cover into place.
- Starting firmly against the end cap slowly press the cover into place.
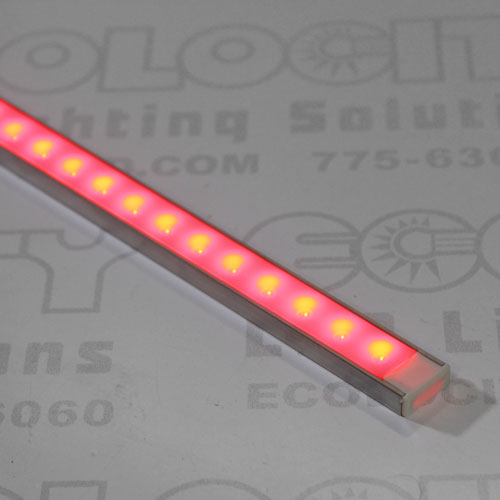
- Now that your channel is complete you can wire it to your low voltage power or control source.
- Install the channel in place using mounting clips or double sided VHB mounting tape.
Related Categories
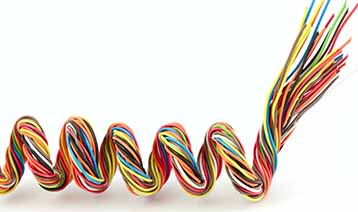 LED Connection Wires
We carry a full line of stranded LED connection wire products in 18AWG to 22AWG. Choose from our 2 conductor, 4 conductor, and 5 conductor wiring cables for your single color, RGB, or RGB+W LED projects. These DC connection wires will make connecting your LED lighting much easier and more efficient. All wires sold by Ecolocity LED are a stranded wire, we recommend never using solid or romex wire with low voltage DC products.
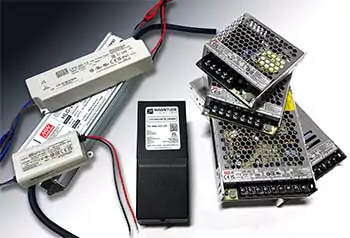 LED Power Supplies
We stock many different types of AC to DC power converters to drive your 12VDC and 24VDC LED lights, neon, modules and fixtures. Our LED Power Supplies, also known as LED Drivers or LED transformers, have universal AC inputs for both residential and industrial lighting projects. Hard wire your transformer to your AC source or use any of our wall plug cords and accessories to plug a power supply into any existing light socket. Use our different types of high quality Mean Well and Magnitude transformers and drivers for your next low voltage interior or exterior LED Lighting project.
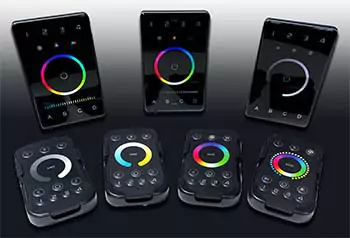 LED Lighting Controls
Browse our large selection of low voltage LED lighting controls and remotes including All in One Controllers, LED dimmers for single color LED lights, RGB Controllers, RGBW Controllers and RGB+CCT Controls for color changing LEDs as well as DMX LED controllers to create unique lighting effects for your LED lights using computerized software.
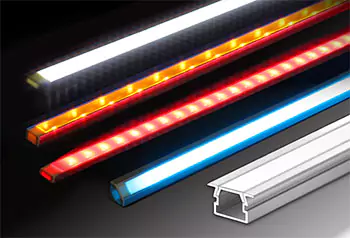 KLUS Strip Light Channels & Diffusers
Browse our wide variety of KLUS brand LED Strip Light Channels and Diffusers to create custom and quality linear LED lighting fixtures for any application. The aluminum channels, also known as LED profiles, are not only a great housing for light strips but also act as a heat sink for them as well, which in turn will expand your LEDs lifetime as well as brightness over time. Extrusions are sold in 1M, 2M and some in 3M lengths and can be cut and customized to fit any project. We have LED Extrusions for 8mm, 10mm, 12mm, doublewide, as well as waterproof outdoor rated channels. 2M lengths are available for all channels, some are available in 3M lengths, but not stocked please call 775-636-6060 to arrange a drop-ship.
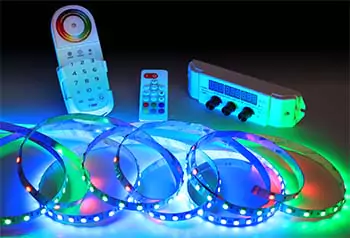 RGB LED Controllers
We have a large selection of RGB LED Light controllers from basic knob style, programmable RGB controllers and several with remote control functions. You can use these RGB LED controllers to create unique lighting effects for your RGB LED lights, LED RGB Ribbon, RGB LED tubes, RGB Wall Washers, and LED RGB Modules. See our newly added RGBW (Red, Green, Blue, White) 4 color led controllers to mix color changing effects along with single color control white or warm white lighting.
 Ribbon Star UL Listed LED Strip Lights
Our commercial grade LED Strip Lights are manufactured with only the highest quality parts. Every strip light begins with a heavy duty dual core copper printed circuit board (PC Board) and then is soldered with an array of chip and color options. The backside of the PC board is applied with real deal double sided 3M tape for mounting that won't peel off. Each roll of strip can be cut and re-connected to low voltage power to create reliable UL Listed linear accent, task, and exterior lighting. We stock a wide range of brightness (lumens), IP Rating (waterproof), colors (kelvin) and color changing options below. Our strip lights are the best strip lights on the market.