Create a Chasing Effect using LED Modules
Many people don't realize the different types of color changing effects you can achieve by thinking outside of the box and using LED components a little differently than how they are intended to be used. in this tutorial we will explain how to achieve a chasing effect using single color LED Modules and an RGB Controller.
Click Here to View YouTube Video ![]()
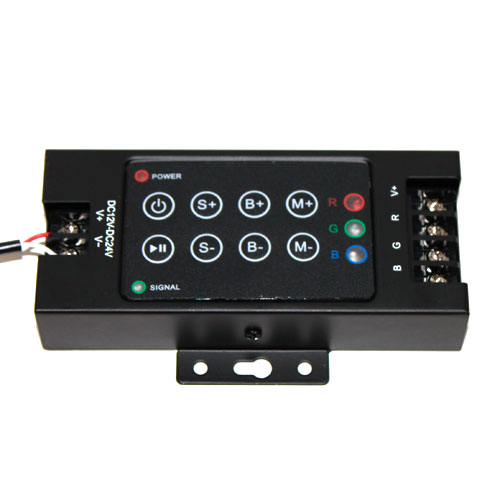
1.) Find an RGB Controller with a 3 Color Flash Mode
In order to achieve a chasing effect using an RGB Controller and Single Color LED Lights you must first find an RGB Controller that has a 3 color RGB flash mode. Most RGB Controllers, like the 8 button controller with RF remote seen here, will have this function but it is never a bad idea to give us a call and check first.
2.) Cut 3 sets of Single Color Modules in Equal Lengths
Once you have decided what color or colors you would like your color chasing effect to be you must then cut your modules into equal sized lengths. For this demonstration I used (3) 10 unit sets of Dwarf Star Single Chip 12VDC LED Modules.
3.) Secure your first set of LED Modules
Once you have your 3 sets of modules you can begin to layout your first run of modules. This set will be connected to the Red output on your RGB Controller since the red will be the first to flash in the RGB flash mode.
4.) Secure your second set of LED Modules
After securing your first set of LED Modules you can start on your second set. You want to stagger the modules enough that there is room for your third set and that the spacing is even between all of your modules. This set will be wired to the Blue output on your RGB Controller since this will be the second color to show in your RGB flash mode.
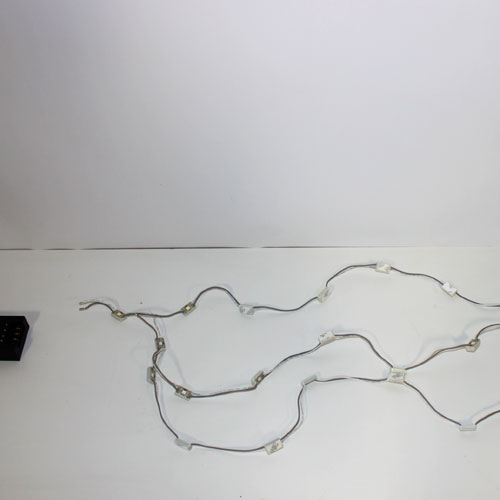
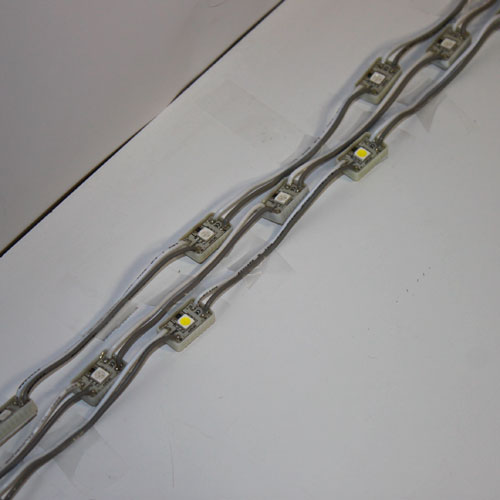
5.) Secure your third set of LED Modules
After laying out your second set of modules you can begin to layout your third and final set. If you have laid them out correctly there should be an even amount of space between each module. This set will be wired to the green output on your RGB Controller. For demonstration purposed I laid this chasing effect 3 modules wide, but with a little more time and effort an installation I could have laid them out to be a seamless single line of modules.
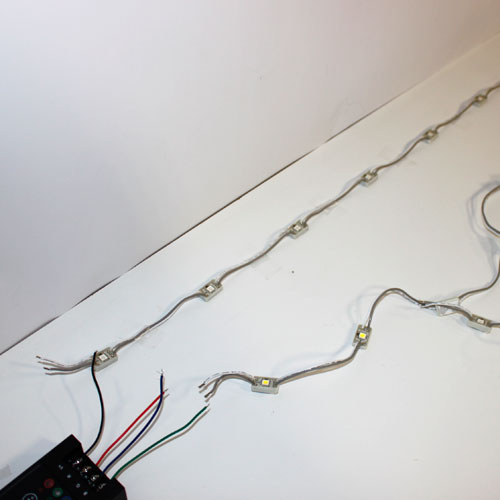
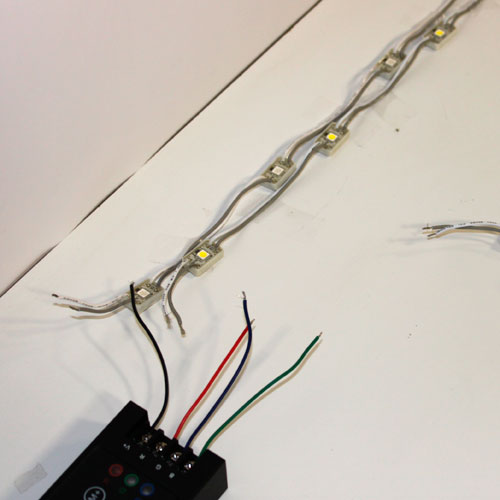
6.) Wire back to the controller sharing the (+) Output
Once your modules have been laid out you can now wire them back to your RGB Controller. The negative wire on the first of Modules will be wired to the Red output, the second set to the blue, the third set to the green, and then all of the positive wires will be shared on the positive output. See illustration for reference.

7.) Find the RGB Flash mode and enjoy
After you have wired the modules correctly you can power your RGB Controller and find the RGB flash mode, a chasing effect such as the image to the right will occur if you followed the process correctly. From here you will be able to adjust the speed and possibly brightness according to what type of RGB Controller that you have.