How to Overlap Solder an LED Strip
Overlap soldering two pieces of LED Strip Light together is trickier than your basic wire solder. If you do not do this properly there is a high chance of electrical arc from your soldering point. Follow this tutorial to see how to overlap solder two pieces of strip light together. If you are having troubles remember that you can always use a small piece of wire to connect rather than an overlap solder.
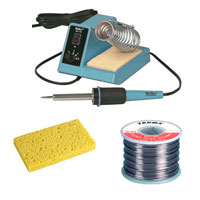
Before attempting to overlap solder your LED Strip Lights it is important to be sure that you have the proper tools for your soldering project. We recommend using any 30W-60W soldering iron that is temperature adjustable and capable of soldering at around 500°-600°F. It is best to use a more powerful iron so that you don't need to spend a lot of time heating the joint, which can damage components. At the same time too hot of an iron can also damage the components. We also recommend using a thin rosin core solder and having a wet sponge or steal pad for cleaning the tip of your solder iron.
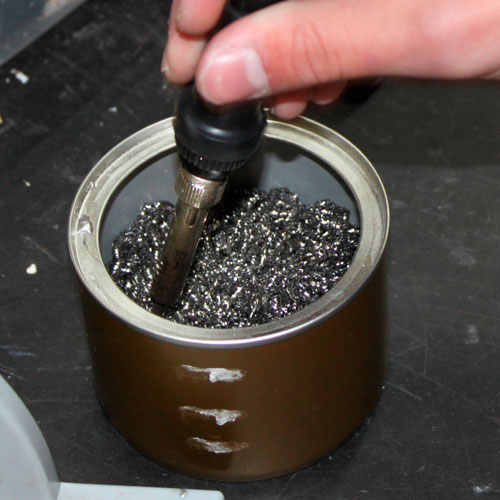
It is important to have a clean tip on your soldering iron in order to keep your soldering joints from overlapping. Clean the tip of your solder iron regularly to keep your joints as clean and small as possible.
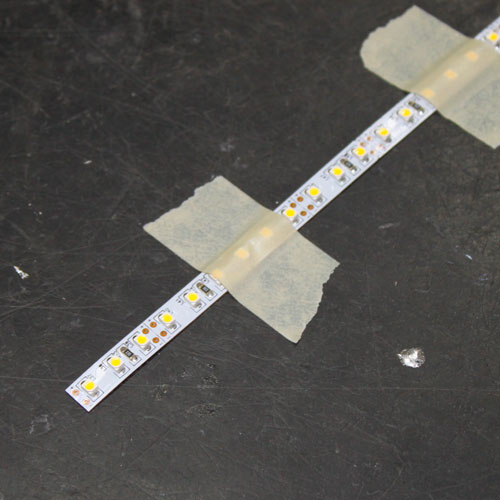
Use a few pieces of masking tape to secure your LED Strip light that will be on the bottom of your overlap solder, so it does not move during your solder.
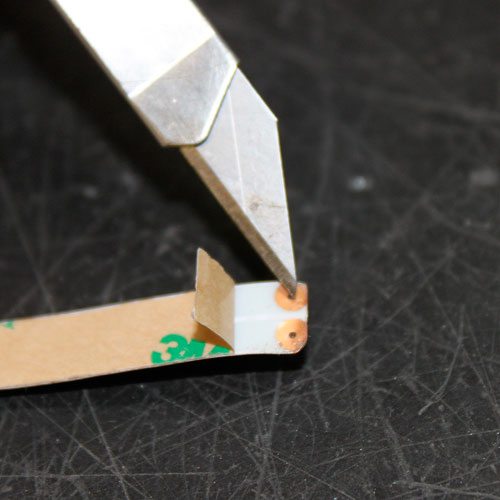
In order for the electrical current to flow from one strip to the next the copper dots must be exposed to each other. Simply take an exacto knife or blade and scratch off the 3M tape to expose the copper underneath, otherwise the 3M tape will inhibit any connection.
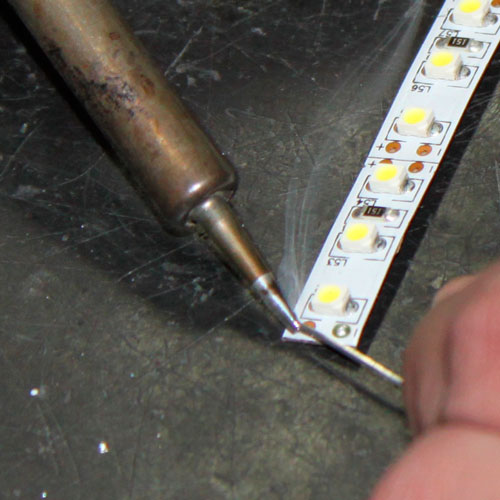
The next step is to tin the copper dots on both of the LED Strips by melting a small amount of solder directly to the copper dots. Be sure that you put enough solder to cover the dots but not so much that the solder is overlapping. Do this to the top side of both of your strips.
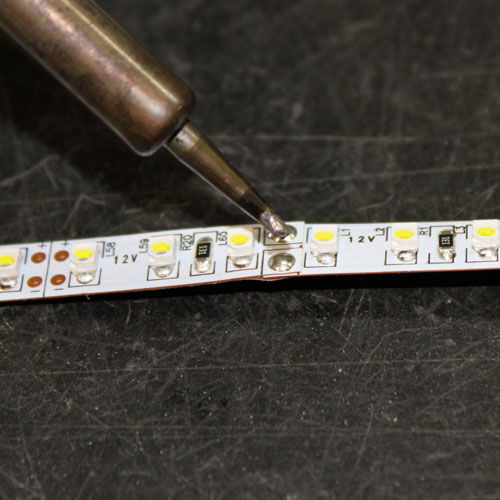
Once you have tinned the copper dots on the top side of both of your LED Strip Lights you can now mate the two together. Place the Strip light that you had scratched the 3M tape from on top of the tinned solder joints of the bottom strip light. Be certain that the polarity of both strips are in line with each other. Lastly, place the soldering iron over the top solder tin long enough to heat up the solder on the bottom side in order to melt each solder joint. Be sure to hold long enough to not create a "cold solder."
*COLD SOLDERS OCCUR WHEN ONLY ONE OF THE SOLDER JOINTS IS HEATED AND CONNECTED WHILE THE OTHER IS STILL COLD. COLD SOLDERS WILL NOT CARRY ELECTRICAL CURRENT.*
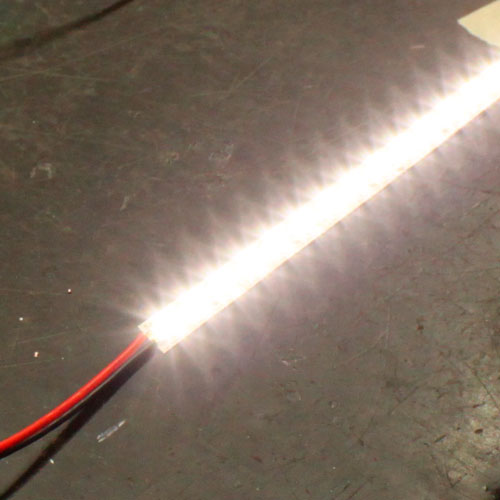
Once dry, connect your freshly overlapped soldered LED Strips to a proper power source and test your connection.
*FAILED CONNECTIONS WILL OCCUR FROM A COLD SOLDER JOINT. IF YOU NOTICE ANY SPARKING OR SMOKE YOU MORE THAN LIKELY HAVE A CROSSED OR ARCING CONNECTION.*
Related Categories
 24V LED Strip Lights
We carry a wide variety of 24VDC LED Strip lights for any lighting application. 24V Strip Lights use the same wattage power as our 12V Strips but can be run longer in serial lengths with less voltage drop. We have outdoor waterproof 24 volt LED Strips, 24 volt LED Strips for indoor use and 24V LED Strips for use in marine applications. All of our 24 VDC LED Strip lights have a 2 year warranty and 50,000 hour lifespan, for a low energy, Eco-friendly lighting solution. Most of our 24V LED Strips are UL recognized, all our RoHS and CE approved.
 12VDC Constant Voltage LED Power Supplies
A variety of 12VDC power supplies capable of transforming a wide range of AC power input to 12VDC power output for usage with 12VDC LED products only. Choose from our high quality Mean Well brand 12 volt plug in, indoor and waterproof styles as well as our 12VDC indoor and outdoor rated Magnitude brand dimmable power converters. Click the links below for quick access to our different types of power supplies.
 DIY LED Projects
DIY projects using LED Modules and LED Light Ribbon for easy to do and energy efficient, Do It Yourself lighting. These products can be used many different ways including under cabinets, under counters, cove lighting, in crown molding and even under stairs. These are some of the projects that we've done, if you would like to show us some of your projects we would love to see your ideas and input.
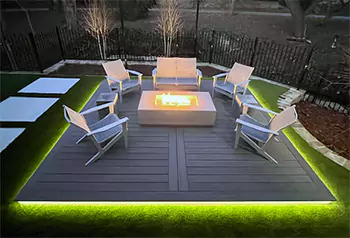 Customer LED Projects
Here you can see all of our customer's amazing LED lighting projects that were created using Ecolocity LED products and LED Lighting accessories. From LED Strip Light Projects to LED Wall Washer projects, our customer's have done it all. Browse these great finished projects to get some ideas for your next LED Lighting design.
 24VDC Constant Voltage LED Power Supplies
A variety of 24VDC power supplies capable of transforming a wide range of AC power to 24VDC power for usage with 24VDC LED products only. Use our Mean Well and Magnitude brand 24 volt transformers for powering our 24V LED strips, 24V LED fixtures, 24V Wall Washers, 24V controls and accessories.
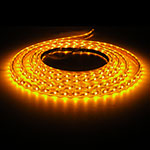 12V LED Strip Lights
We carry a wide variety of 12VDC LED Strip lights for any indoor or outdoor lighting application. We have waterproof 12 volt LED Strips, 12 volt LED Strips for interior use and 12V LED Strips for use in automobile and marine applications. These 12V Strips are so versatile they can be used in even the smallest areas needing energy efficient lighting. All of our 12 VDC LED Strip lights have a 2 year warranty and 50,000 hour lifespan, for a low energy, Eco-friendly lighting solution. Most of our Ribbon Star 12V Strips are UL Recognized, all are RoHS and CE approved.