How to Solder Wire to Waterproof Strip Light
Waterproof LED Strip Lights are such a versatile product due to the fact that they can easily be cut on the given cut lines and connected at any point between the copper dots on the LED Strip, you can then re-waterproof the strip using the proper end caps and a strong adhesive. Follow this tutorial for instruction on cutting, connecting, and re-waterproofing your LED Strip Light.
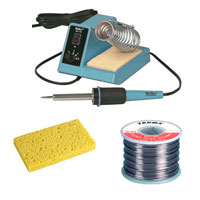
Before attempting to solder wire to your LED Strip Lights it is important to be sure that you have the proper tools for your soldering project. We recommend using any 30W-60W soldering iron that is temperature adjustable and capable of soldering at around 500°-650°F. It is best to use a more powerful iron so that you don't need to spend a lot of time heating the joint, which can damage components. At the same time too hot of an iron can also damage the components. We also recommend using a thin rosin core solder and having a wet sponge or steal pad for cleaning the tip of your solder iron.
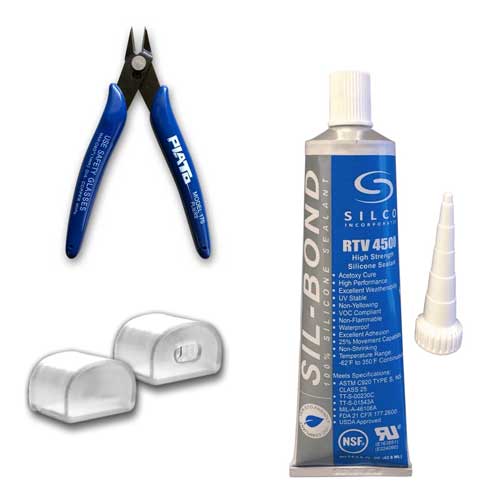
It is important to have the right waterproofing accessories for the type of job that you are doing. We use outdoor rated RTV 4500 Silicone Sealant for end cap adhesion and Precision Micro Shears for trimming back the silicone housing of your waterproof strip light. Dual wall waterproof clear heat shrink is an optional accessory to make heavy duty connections. You can also find our Strip Light End Caps here.
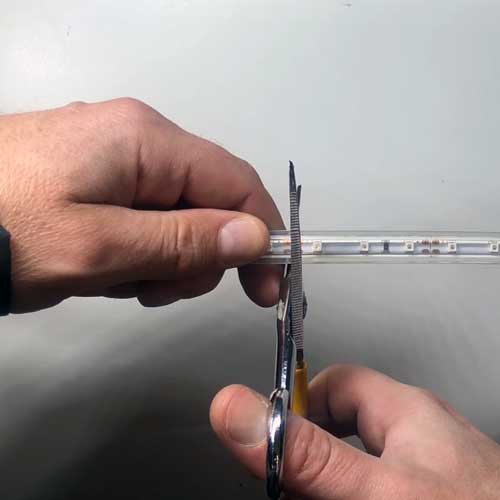
Always use a sharp pair of scissors to cut your Waterproof LED Strip Light, dull scissors can damage the PC Board. Each waterproof strip light will have a cut mark between the two pairs of copper connection pads. Once you have located this cut line you can then cut your LED Strip Light to the desired length. Be certain to make a clean straight cut without putting any additional stress on the PC Board, doing so can break the board making that LED Section un-usable.
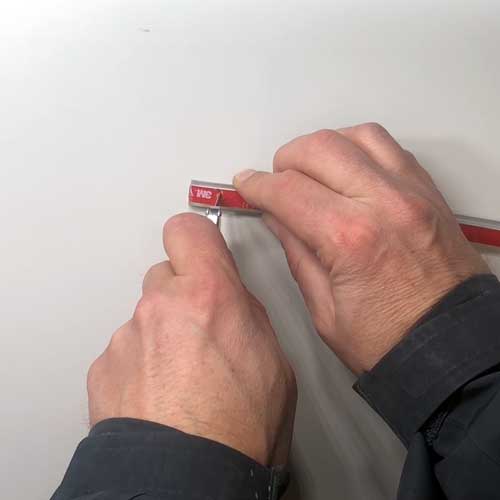
To make the best possible seal when applying your end cap it is best to remove the VHB tape from the strip light. Removing the tape will create a much better bonding surface for the RTV 4500 Silicone Sealant to properly adhere.
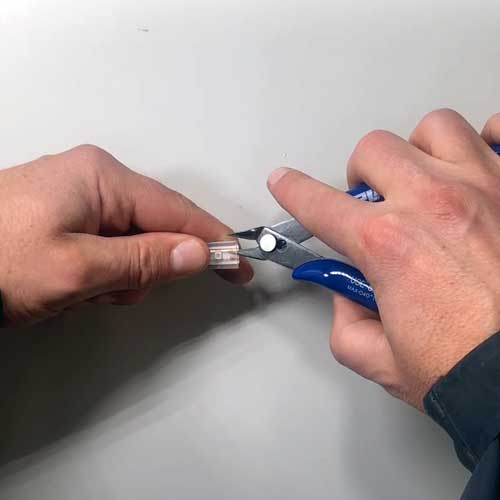
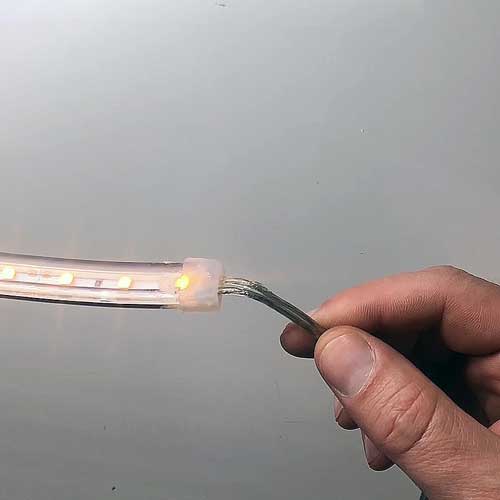
In order to solder wire to your Waterproof LED Strip Light you must first cut back the silicone coating to expose the copper connection pads on your LED Strip Light. Use our Precision Snips or a sharp blade to cut back the silicone housing, be very careful not to cut through the PC Board on the LED Strip light. We recommend only cutting off the top half of the silicone and leaving the bottom half for structural support.
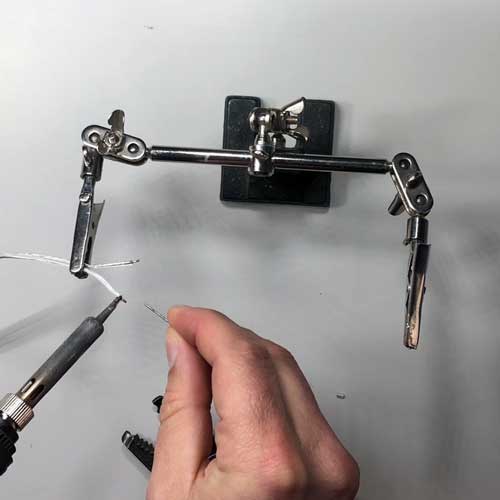
Once your soldering iron is hot enough, tin your 18-22AWG stranded wire by applying a small amount of solder directly to the stranded wire. Once you have completed this step your wire should be silver in color and no longer appear to be stranded.
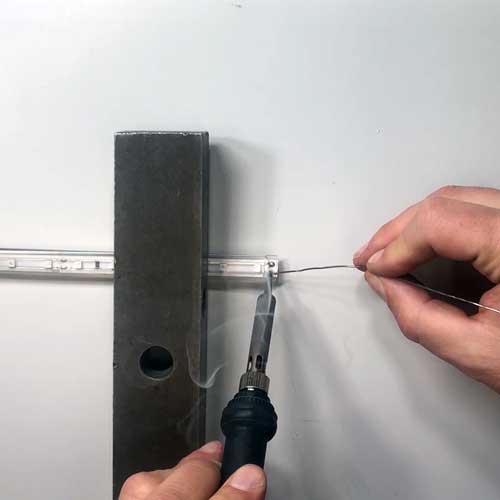
The next step is to tin the copper dots on your Waterproof LED Strip Light by melting a small amount of solder directly to the copper dots. Be sure that you put enough solder to cover the dots but not so much that the solder is overlapping.
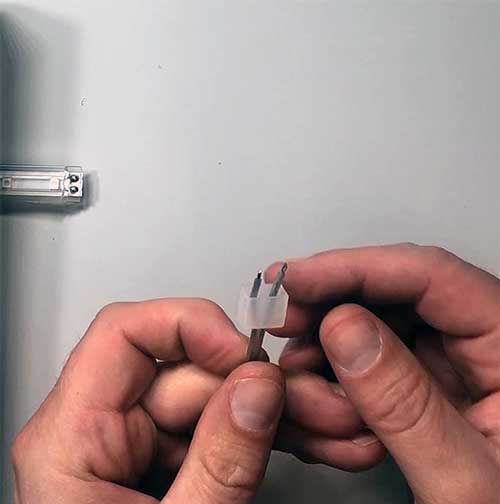
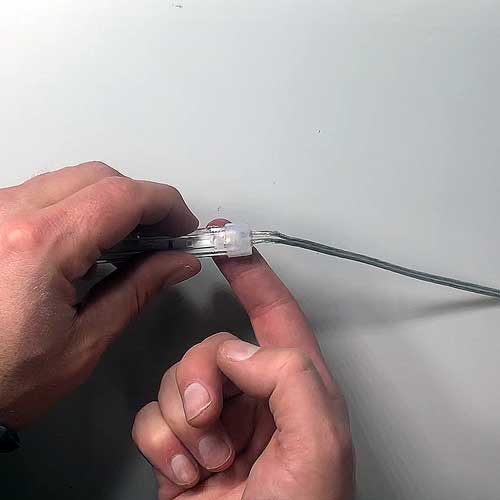
Before soldering your wire to your strip light you want to be sure and put the end cap through your wire holes. Be sure that you poke the wires from the outside of the cap to the inside.
Once you have tinned both the wire and the copper pads on your LED Strip Light you can now solder the two together. Check polarity and then place the respective wire just over the copper dots and then quickly melt together using your soldering iron. Be sure to hold long enough to not create a cold solder, but don't hold it on the strip long enough to damage the copper pads. It should take no longer than a few seconds to mate a wire to the strip light.

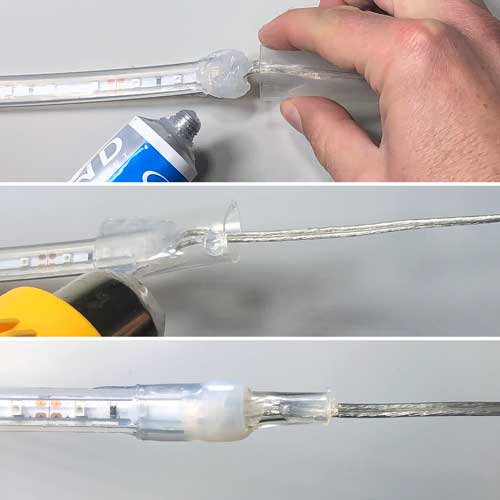
Once you have properly mated your wire to your LED Strip Light you should first test the connection. After testing, fill the end cap with silicone sealant. We recommend using RTV 4500 Silicon Sealant but any outdoor rated clear silicone sealant will work.
- Glues not designed for silicone will not bond to the silicon housing

Slide your end cap into place. You should have a little adhesive come out the sides of the cap as well as fill the interior of the strip light housing. Use your finger to gum the commissure of the end cap joint with any excess sealant.
Lastly you should always test your connections. Allow enough time for the sealant to fully set, typically 24 hours, in order for optimal waterproofing. We recommend you let the strip now hang vertical with the cap towards the ground. This will keep the sealant in place towards the cap while it sets.
If you like things on the extra durable side you can use a dual wall 1/2" heat shrink combined with more silicone sealant to create a secondary bond over the end cap. Use enough heat shrink to cover your end cap by at least a 1" on each side. You can apply the adhesive directly to the strip light or inside the heat shrink. Once in place use a heat gun to shrink the heat shrink and wipe away any excess adhesive.
- If your heat shrink is not long enough it will pull your end cap off while shrinking
Related Categories
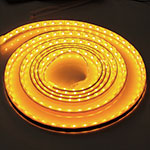 Amber Waterproof LED Strip Lights
Our UL Listed Amber waterproof LED Strip Lighting is perfect for any interior or exterior LED lighting projects that require a golden amber colored, water-resistant lighting solution. Each hand tested silicone coated strip has an IP67 outdoor rating, non submersible, non UV-proof. UL Listed, CE and RoHS approved.
 Blue Waterproof LED Strip Lights
UL Listed Blue Water-Resistant LED Strip Lighting. Perfect for any interior or exterior LED lighting projects that require a water-resistant lighting solution. IP65 outdoor rating, non submersible, non UV-proof. UL Recognized, CE and RoHS approved.