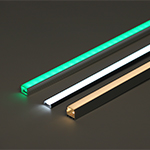
Under Cabinet LED Lighting using LED Modules
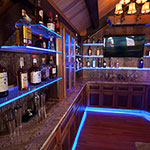
Under Cabinet LED Lighting is quickly becoming the standard for under cabinet lighting mainly due to the fact that LED Lights will last longer, use less power, and are much easier to work with than any other type of under cabinet lighting available on the market. Take a look at this DIY project to see how easy it is to install LED Under Cabinet Lighting in your home or business.
| PROJECT INFORMATION |
| Completion Time | 1-2 hours for average person |
| Skill Level | Beginner - Intermediate |
| Tools Used | Rubbing Alcohol, Wire Connectors, Wire Stripper, 22AWG Wire |
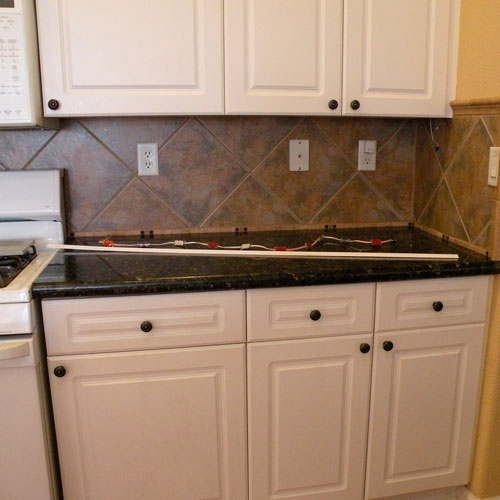
Start by measuring the area that were you are going to install the LED Modules. In this project we measured under the cabinets on two sides (See picture A). Each side is 53", so we can take the distance between each LED module that we are going to use, (which is 4.75" center to center for the Eco Light Super Nova 2 LED Modules) and divide 53" X 4.75" and we get 11. So each side of this project will need 11 LED Modules.
Next you will need to make sure the surface area, under the cabinets, is clean and free of grease and oils. If this is an existing kitchen with a cooking stove present, you will want to make sure you pay special attention to removing any cooking grease build up under your cabinets. You can do this by using Rubbing Alcohol to clean any areas you are going to mount the LED modules.
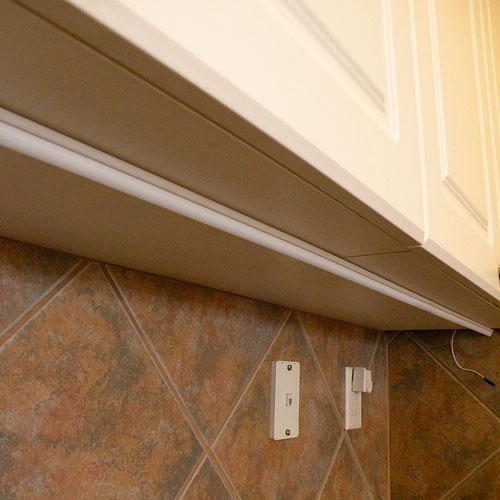
This particular cabinet did not have an outside edge underneath it so we decided to use a piece of 1/2 molding to hide the LED Module string from the front view. We then used the same 3M™ VHB™ to stick the molding to the underside of the cabinet. It was easier to use mounting tape than to damage the cabinet by screwing into the formica. 3M™ VHB™ is very strong and should retain the molding for over 20 years.
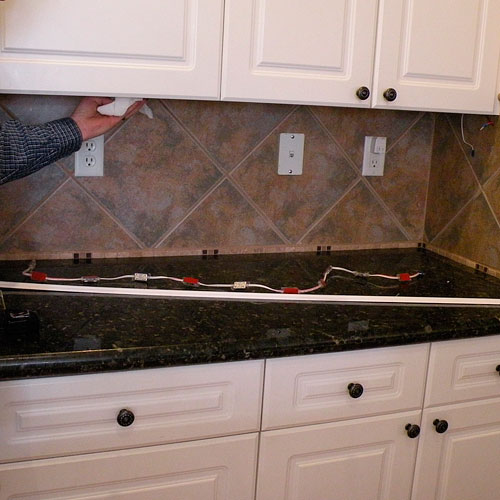
We then took one string of 11 LED Modules, peeled the backing off of the mounting tape and securely stuck each module to the underside of the cabinet and along the 1/2 molding. Repeat for each section were you are installing the LED light modules. If the surface is smooth, such as finished wood, formica or metal, you can apply the modules using the 3M™ VHB™ mounting tape on the back of each module. However, if the surface is rough you will need to mount the modules using #4 screws.
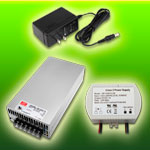
5.) Wire LED Modules to 12VDC Power Source
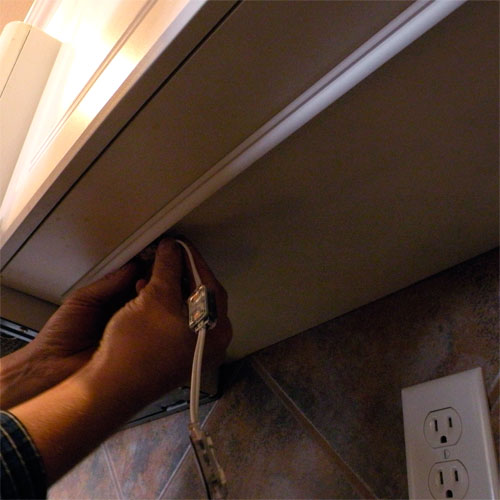
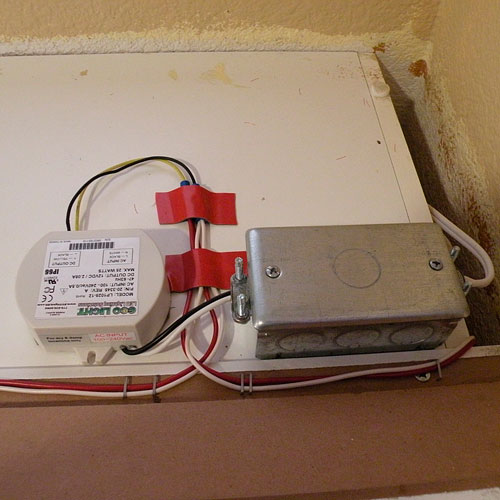
For this project we were able to place the LED Power Supply and the Connection box (for the 120V connection into the Power Supply) on top of the cabinet due to a hidden space on the side of the cabinet that ran up to the top. We used 3M™ VHB™ again to mount the box and the led power supply to the cabinet. We used butt connectors to connection the LED Module string in a series to the Power Supply. This is just your basic automotive style crimp on connector. If you wanted to make the connection easy to disconnect you could us a male and female style bullet connector instead.
6.) Test Power Connection
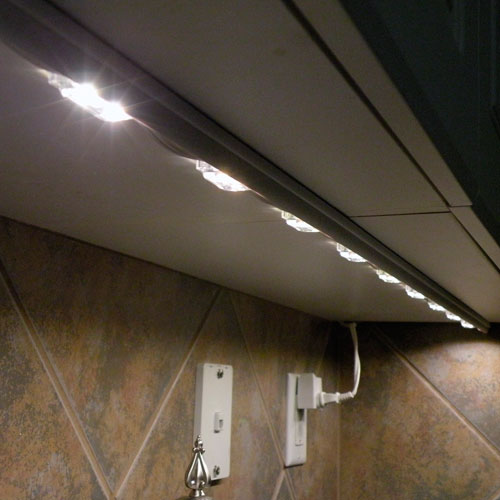
Now you can turn on the lights and see that all LED's are light up and working properly. To supply 120 Volt to the power supply we use a plug end with a basic plug switch and just plugged it into the wall socket. You can also hard wire the Power Supply and wire it into a wall switch for a more professional installation. It is recommended that If you are not an electrician than you should hire one for this part. This is so your installation might be up to any city building codes for your home.
7.) Enjoy your New Eco Friendly Under Cabinet Lights
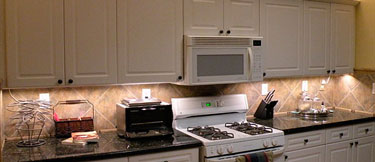
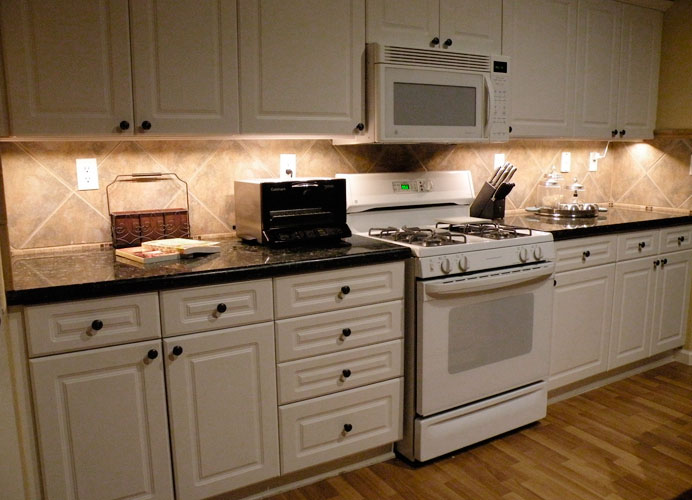
The final results are in and this Under cabinet LED Light project has turned out really amazing. The LED's are very bright and there is no hot or dead spots on the counter below. This project was very easy and not expensive to do, but the LED's will provide nice Kitchen lighting for many years without issue or maintenance.