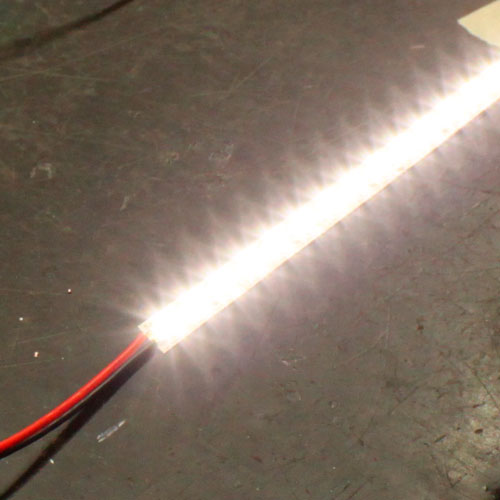
Overlap soldering two pieces of LED Strip Light together is trickier than your basic wire solder. If you do not do this properly there is a high chance of electrical arc from your soldering point. Follow this tutorial to see how to overlap solder two pieces of strip light together. If you are having troubles remember that you can always use a small piece of wire to connect rather than an overlap solder.
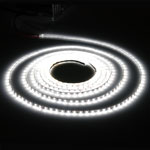
Click Here to Watch our Video Tutorial Click Here to See our LED Strip Lights
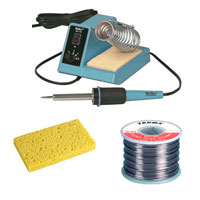
Before attempting to overlap solder your LED Strip Lights it is important to be sure that you have the proper tools for your soldering project. We recommend using any 30W-60W soldering iron that is temperature adjustable and capable of soldering at around 500°-600°F. It is best to use a more powerful iron so that you don't need to spend a lot of time heating the joint, which can damage components. At the same time too hot of an iron can also damage the components. We also recommend using a thin rosin core solder and having a wet sponge or steal pad for cleaning the tip of your solder iron.
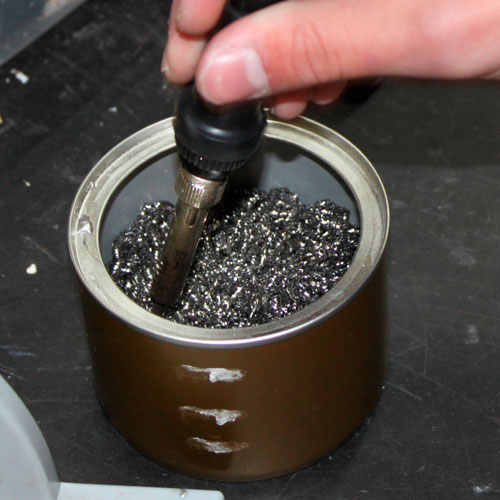
It is important to have a clean tip on your soldering iron in order to keep your soldering joints from overlapping. Clean the tip of your solder iron regularly to keep your joints as clean and small as possible.
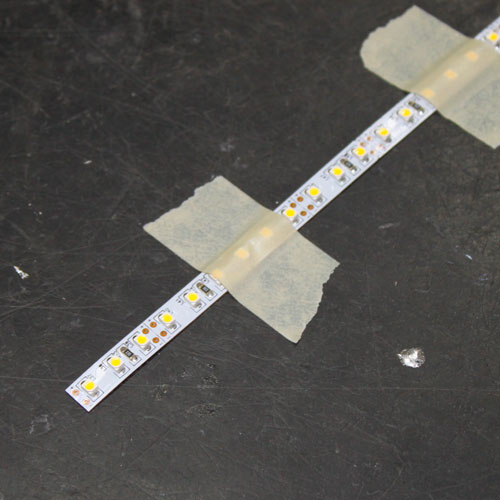
Use a few pieces of masking tape to secure your LED Strip light that will be on the bottom of your overlap solder, so it does not move during your solder.
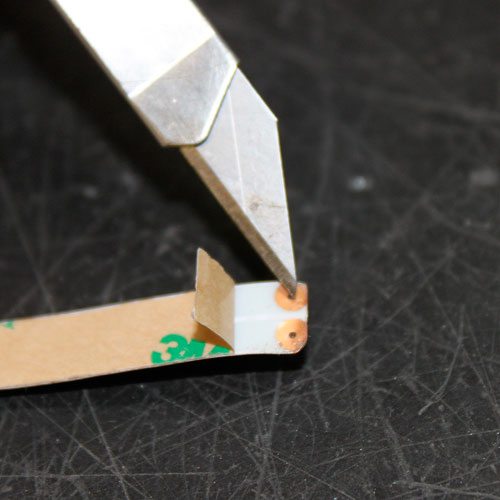
In order for the electrical current to flow from one strip to the next the copper dots must be exposed to each other. Simply take an exacto knife or blade and scratch off the 3M tape to expose the copper underneath, otherwise the 3M tape will inhibit any connection.
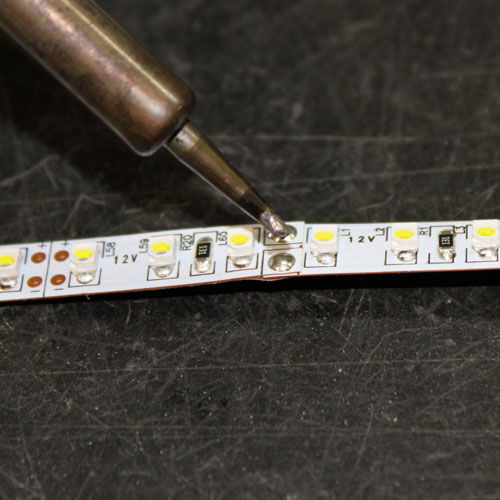
The next step is to tin the copper dots on both of the LED Strips by melting a small amount of solder directly to the copper dots. Be sure that you put enough solder to cover the dots but not so much that the solder is overlapping. Do this to the top side of both of your strips.
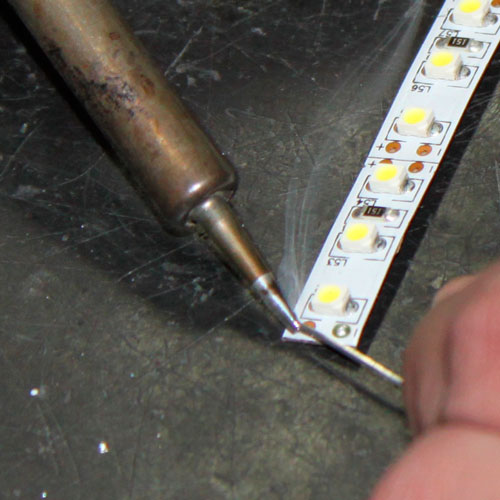
Once you have tinned the copper dots on the top side of both of your LED Strip Lights you can now mate the two together. Place the Strip light that you had scratched the 3M tape from on top of the tinned solder joints of the bottom strip light. Be certain that the polarity of both strips are in line with each other. Lastly, place the soldering iron over the top solder tin long enough to heat up the solder on the bottom side in order to melt each solder joint. Be sure to hold long enough to not create a "cold solder."
*COLD SOLDERS OCCUR WHEN ONLY ONE OF THE SOLDER JOINTS IS HEATED AND CONNECTED WHILE THE OTHER IS STILL COLD. COLD SOLDERS WILL NOT CARRY ELECTRICAL CURRENT.*
Once dry, connect your freshly overlapped soldered LED Strips to a proper power source and test your connection.
*FAILED CONNECTIONS WILL OCCUR FROM A COLD SOLDER JOINT. IF YOU NOTICE ANY SPARKING OR SMOKE YOU MORE THAN LIKELY HAVE A CROSSED OR ARCING CONNECTION.*